Assuming your underlayment is on, the first thing to installing a standing-seam roof is to install the panels. There are a few steps:
- decide which way the panels will be installed
- prepare the panels
- pull the panels up on to the roof
- position and attach the panels
Which way will the panels be installed?
The box end goes against the front parapet wall and the two seams overlap. Of those two, the side which goes on top, sits against your parapet side wall when you put the first panel up. The idea is that the second panel, must pop down on the first panel when its set beside it. I don’t have a picture, but think this over until you understand. You can’t make a mistake here.
Preparing the panels
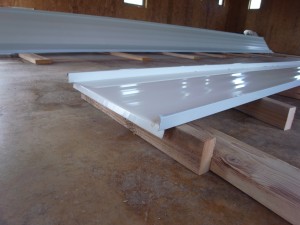
In the case of a parapet roof, the panels need to have a box formed at one end and be bent down on the other. The box is made by folding the panel. What is cool about this is that without any cuts, there’s no place for the panel to leak. (Well, unless the water is so high at the top of your roof as to overflow the panels — let’s hope this doesn’t happen.)
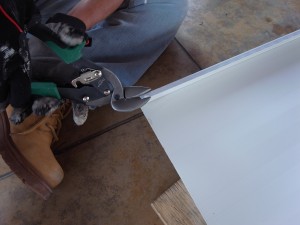
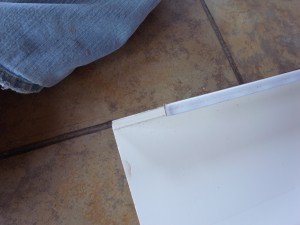
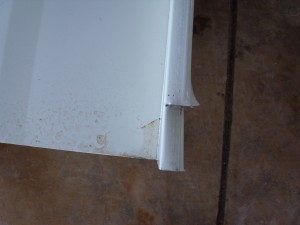
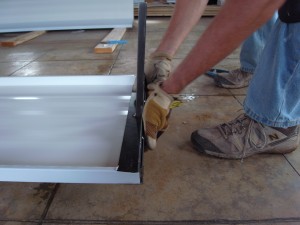
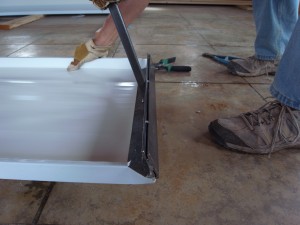
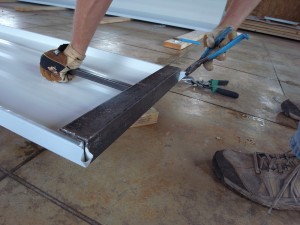
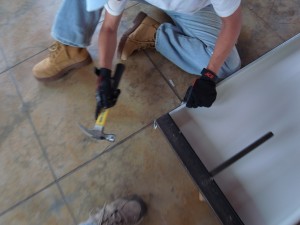
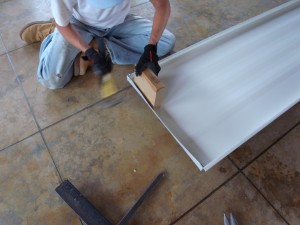
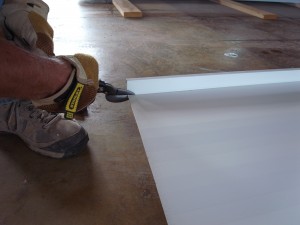
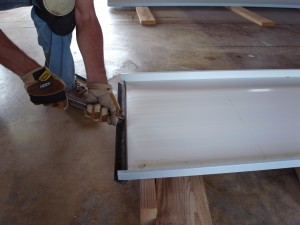
Making the box end requires that you trim a little and then use a special tool to bend up the end of the panel such that the corners bend out. You then hammer the corners tight against the back of the panel.
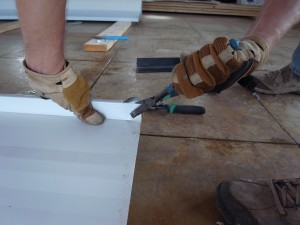
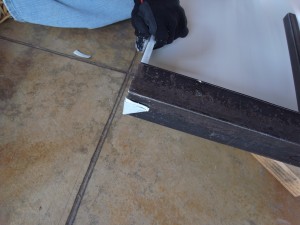
Once you have cut both sides of the panel back 1 and 1/2 inches, you need to put a little bend or crimp in the side to help it bend properly. A pair of thick needle nose pliers are ideal. Just grab at a 45 degree angle and bend out enough so when you start to bend the box, the metal bends out cleanly.
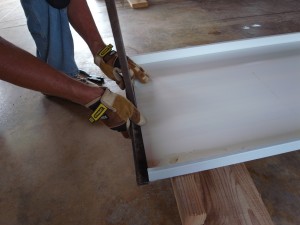
Then, you use a special tool (in our case, supplied by the roofer) to bend up the end of then panel to make a box.
Hammer around the corners and make sure the box end is square to finish the box.
The box end is done. On to the front edge, which will hang off the end of your house. It’s easier.
Pull the panels up on to the roof
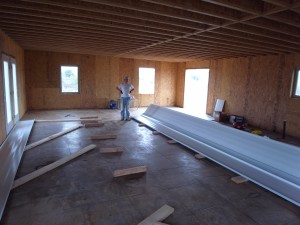
At this point, your panel is ready to be installed. (We tended to prep three or four panels at a time.) Note that these panels bend (in a bad way) easily. You can’t carry them straight up a ladder or they will bend and be wrecked. They need to stay even and parallel to the ground to avoid this.
When you carry them, let one end hang down. Don’t stand too far toward the ends. If two people (a minimum) carry a panel, I suggest each be about one quarter from their end of the panel.
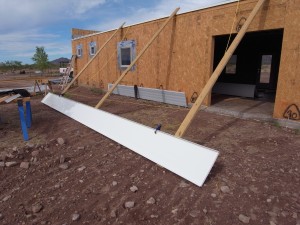
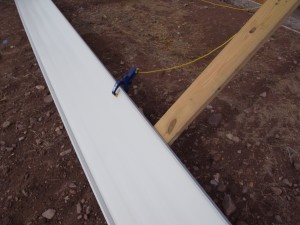
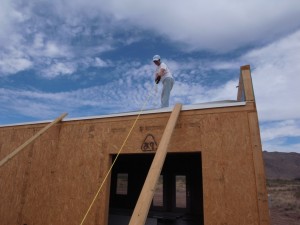
Getting the panels on the roof is pretty easy with a little planning. First, decide how the panels should go up and right into place without any bother. You don’t want to be walking in circles with these on the roof. Next, build a little ramp so you can slide the panels up. Lifting straight up may seem easy, but you’ll catch the panels on any obstructions. A ramp will keep you off any obstructions plus it’s a little easier on the back and arms. We just used a few 16 foot 2×6 boards as our ramp.
You will need clamps and rope to pull the panels up. We have pictures of how we did it, but you’ll need to work out the details yourself.
Position and attach the panels
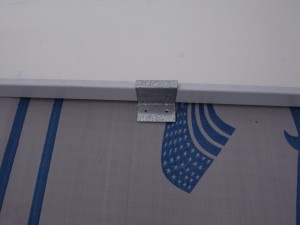
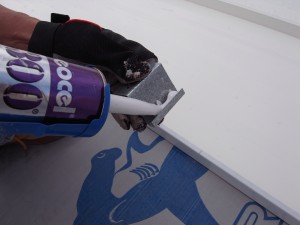
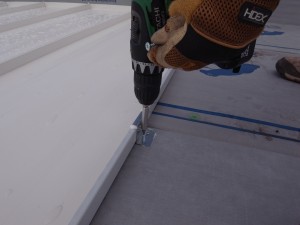
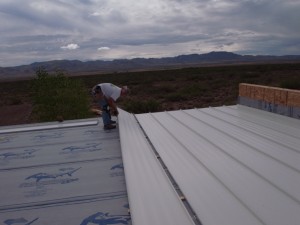
The first panel sets against the side parapet wall. It’s not attached to the wall, but there is a trim piece to come later that will hold it down. The side away from the wall will be attached to the roof decking with clips. After the first, each panel is attached to the previous on one side and attached to the roof with clips on the other. Additionally, the seam where two panel meet is crimped (weather-stripping may also be applied if the slope is low). We applied caulking to the clips as well. (I was a little fuzzy on these instructions from Floyd so I am not positive this is required.)
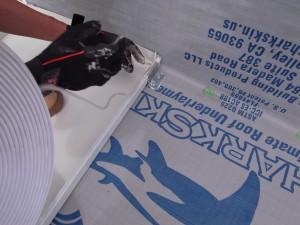
After the first panel is attached, you may need to apply weather-stripping to the seam–we did.
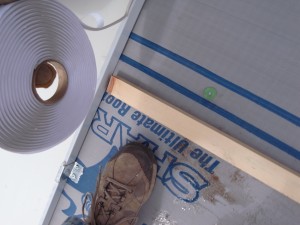
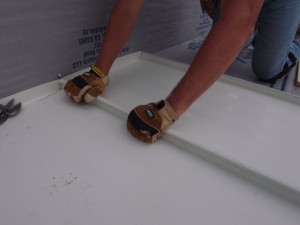
Once the weather-stripping is on, you’re ready for the next panel, which is set on a board to position is over previous panel. Place your 1×2 boards next to the attached panel and place the new panel on the 1×2 boards. Now push the new panel tight to the attached panel making sure it overlaps at the seam. Once it’s in position, you can pull out the 1×2 boards.
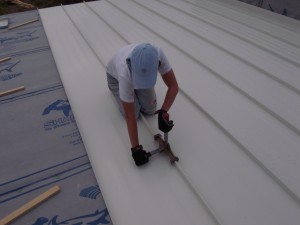
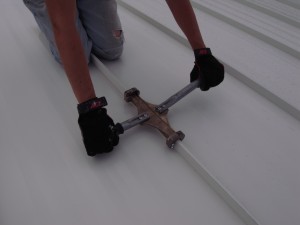
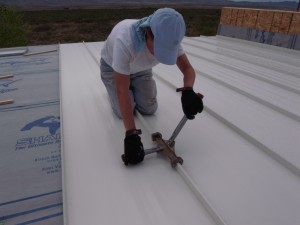
After you are sure the seams fit together, it’s time to crimp the seams. This permanently bonds the panels and makes the seam waterproof. The crimping was pretty hard work.
After this, it’s just repeat, repeat, repeat… until you reach the last piece.
I do believe there’s a concern that the panels could get crooked as you move across the roof. I measured as we went and we never had a problem. We kept each panel tight to the next and we stayed square. I have no idea what to do if you start to lose square.
You might have seen this coming. The last panel will undoubtably need to be cut to fit. Ugh. (Next time, Karen suggested that we design our house width to be an even multiple of the size of the panels.) This and more in part 3.

