We sent to a great workshop on American Clay at Material Good in Silver City this weekend. (If you aren’t familiar with it, this is an interior wall treatment that is favored by green builders.) The workshop was put on by one of the company founders, Croft.
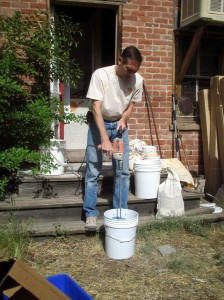
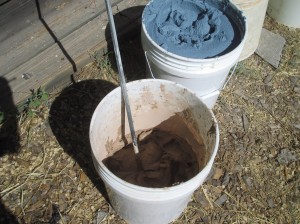
It started with how to mix the clay. The tool being used is a drill with a USG paddle.
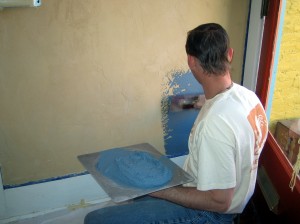
Then we learned the basic techniques. The main steps are: 1) apply a base coat, 2) apply a finish coat, and 3) compress. There is very little surface prep required, mostly just a primer. (Drywall needn’t be sanded, and in fact, sanding creates problems because of the dust.)
The best thing about American Clay is that it is very easy to work with. Effects can be created (and flaws can be fixed) by simply damp sponging or spraying the clay surface and reworking it. You can wet it down and rework it anytime, even years after it’s been put up.
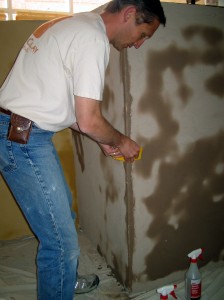
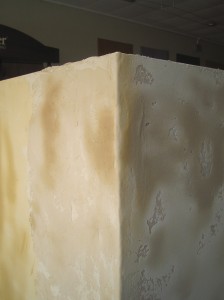
One unexpected benefit of this workshop for me was that I learned some things that I think will help me with my cement work. In particular, Croft showed us some great techniques for creating round corners (including using a trimmed plastic yogurt lid).
Here’s a corner I did:
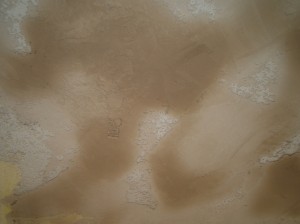
One finishing technique I really like the look of is skip troweling. Here is an example. (The color variation here is because the material is still drying. We did see some techniques for blending colors that were amazing. I think it would take some practice for me though.)
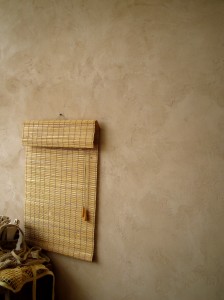
And a finished wall:
It will be awhile before we are ready to do this for our own house, but we really like this material and feel confident we could achieve nice results with it.
More pictures from the workshop are here for those interested.

