So we’re deep into the roofing. Because we didn’t document the first steps last time around, we’ll do it here.
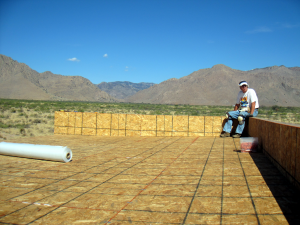
After the i-joists are up, the next step is to put up OSB (sheathing, plywood). The sheets have to be cut so that each ends mid-i-joist. When the sheets are cut and put down, I put a few screws in them to hold them down. (Later, they’ll be nailed.) This time, we’re putting little clips on the edges to make it stronger (upon recommendation by a construction friend).
After the whole section is done, we’re ready for the nailing. First, though, we chalk a line where each i-joist is so that we can nail along them. Every sheet gets nailed every 6″ or so along the entire length of the i-joist. This is hot work! Thank god for the nail gun.
It’s important to hit the i-joist. After we’re done with this, I go downstairs and look for any nails that missed (“shiners”). There aren’t many misses, but they’re usually along seams that have to be nailed on both sides. The shiners have to come out. Otherwise, they will wiggle around and come up through the underlayment.
For those interested in the division of labor, Brad usually does the cutting and positioning. I do the screwing and nailing.
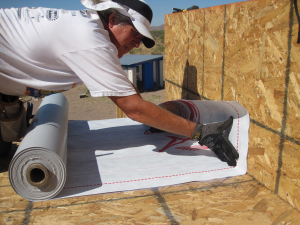
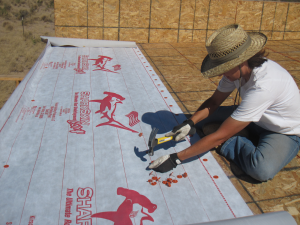
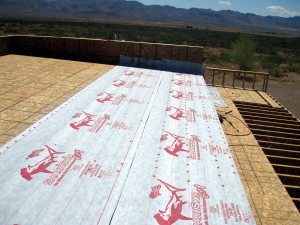
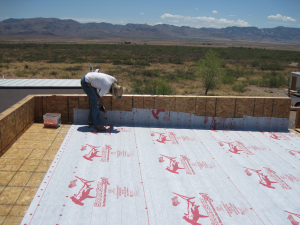
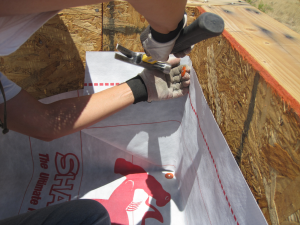
Next step is the underlayment. (We use Sharkskin.) This is rolls of wrap that go down over the OSB and before the metal roofing. It is all nailed by hand. The nailing pattern is every 6″ long ways and every 12″ width-wise. The overlap is 3-4″. The corners are wrapped like present corners. Brad seems to think I have a knack for them. (She does.)
As of today, we have Skarkskin on all the high roof and OSB on the rest. We should be ready for metal in a couple weeks if not sooner.

