Roundin’ up the doggies

Written by karen on August 30th, 2011

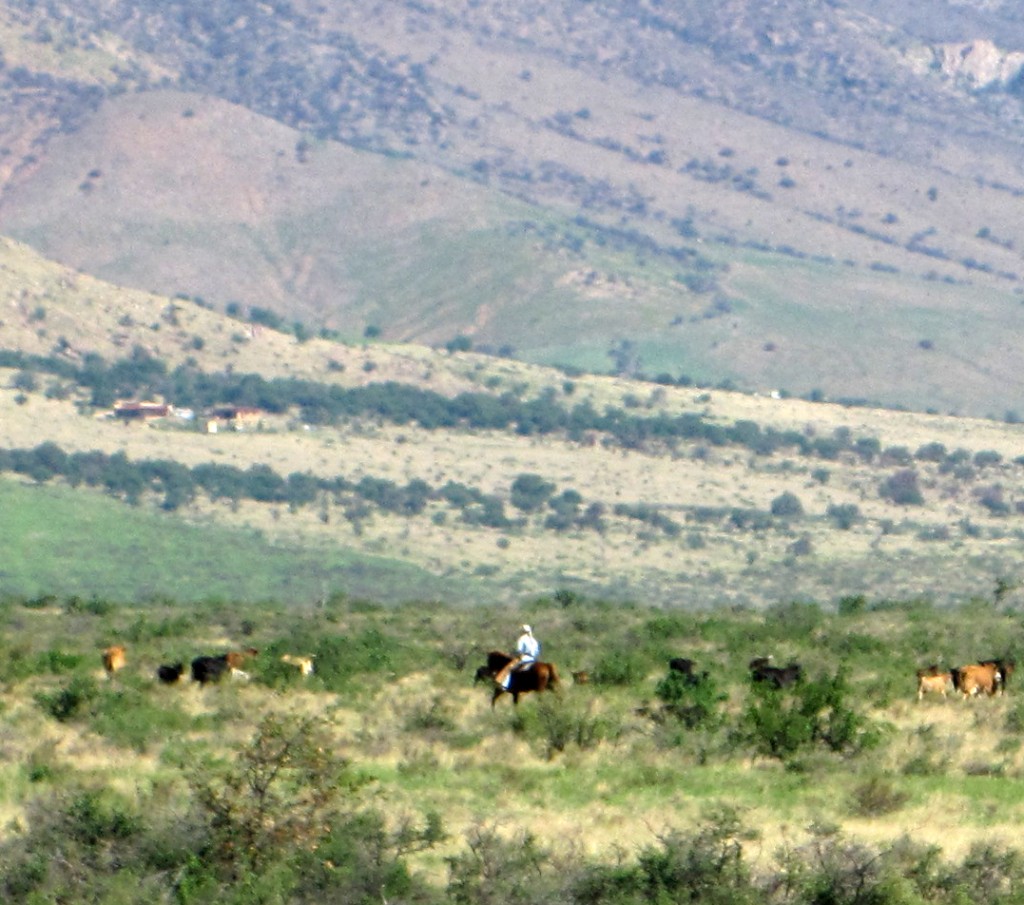
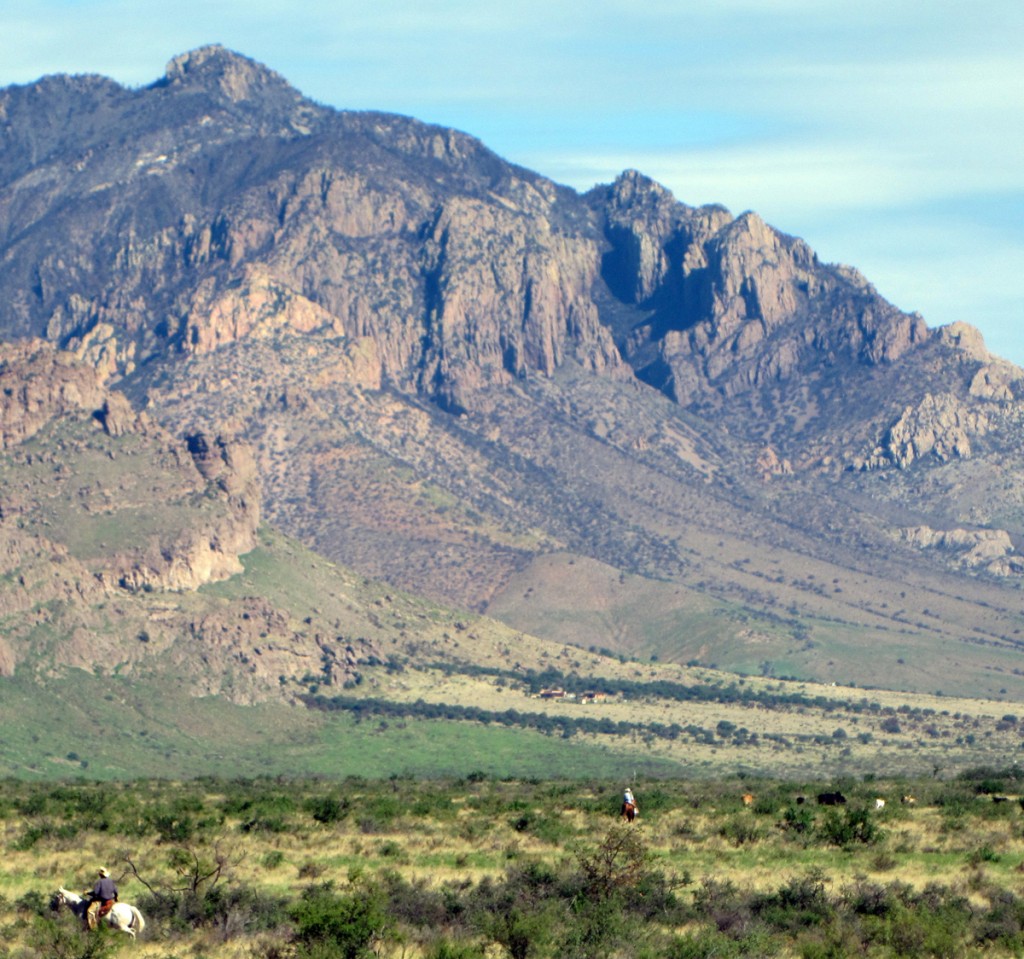
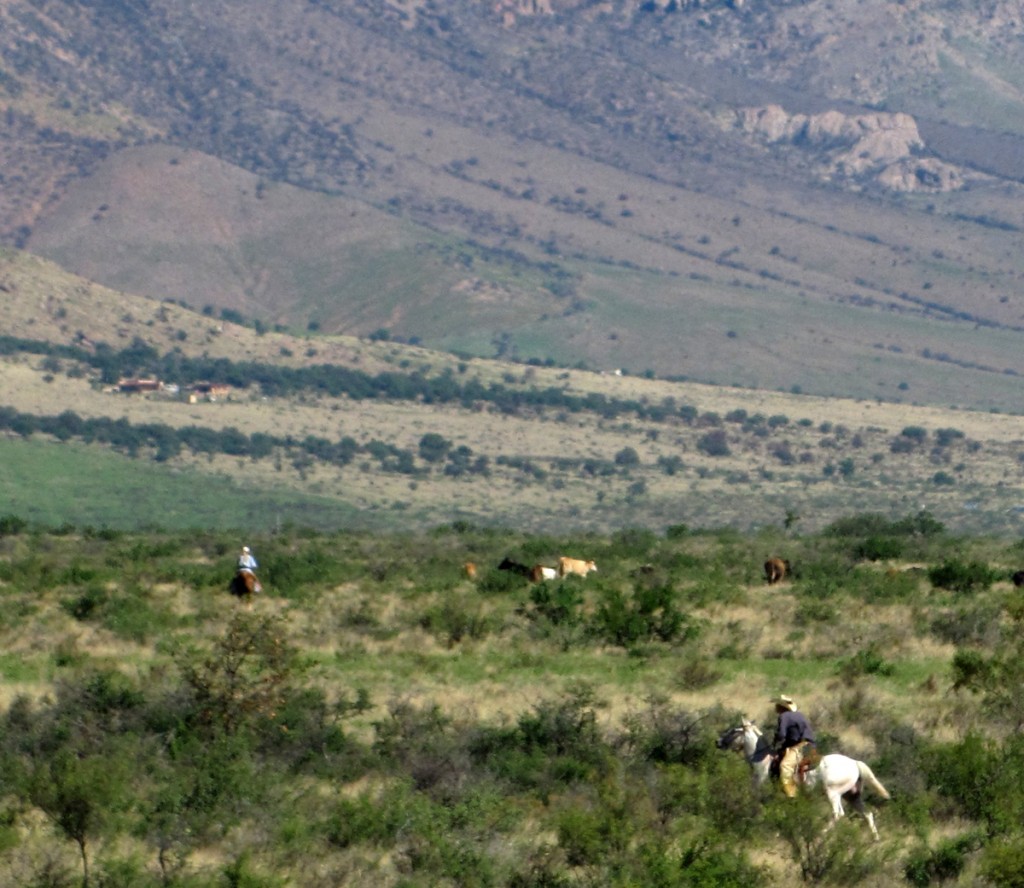
The other day when we were working on the house, I saw a bunch of cows stampeding across the road. That seemed strange.

Then I saw some people behind them. On horseback. Cowboys. Apparently doing some kind of round up.

cowboys1Preview

cowboys2

cowboys4

cowboys3

You don’t see that everyday. Distracted us for a good half an hour.


Another day, another roof

Written by karen on August 26th, 2011

Three sides of the house are now covered with only the short side still to do.

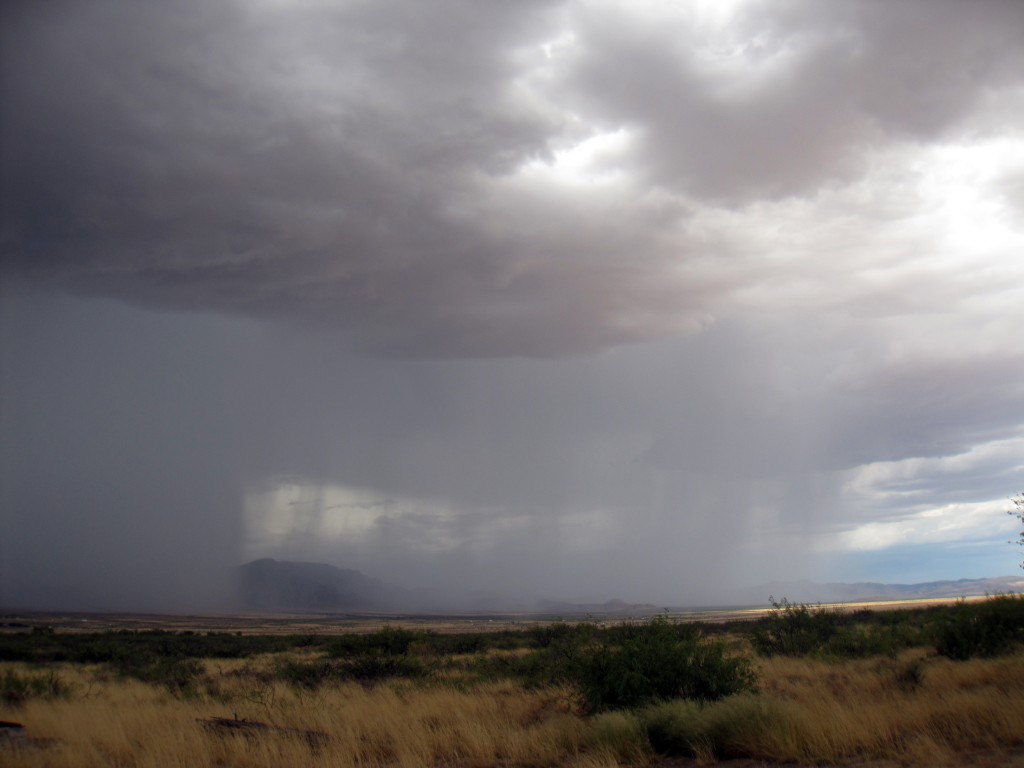
virga-082611

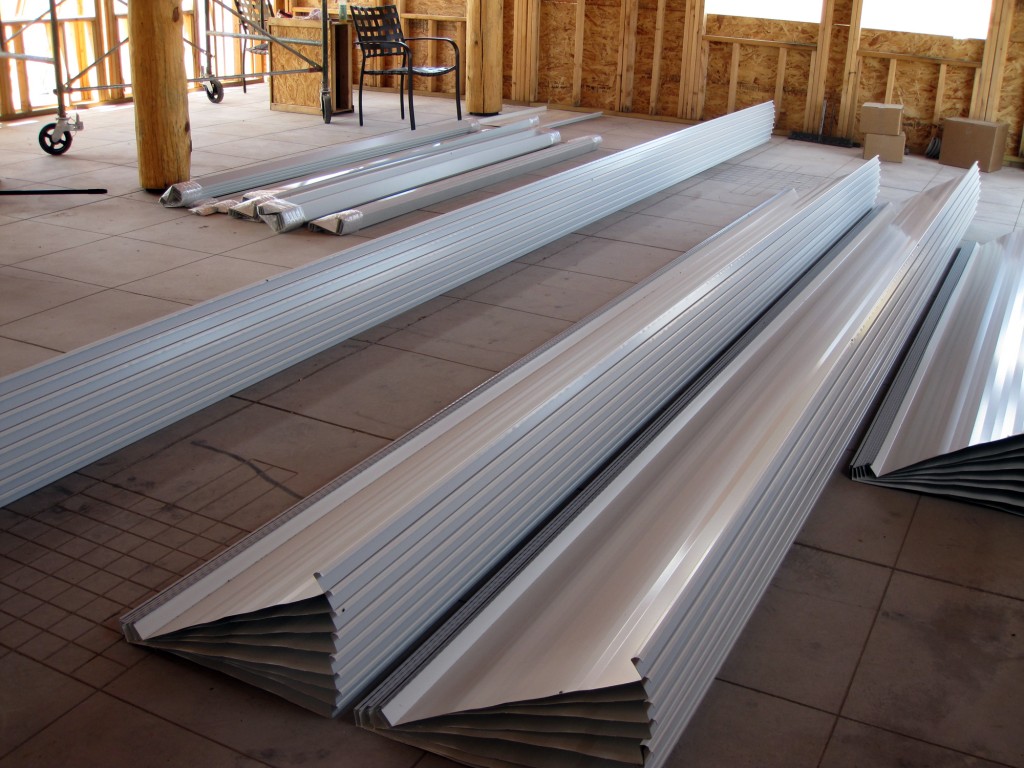
And today our friend Floyd from MasterCraft Metals came out to cut and deliver our roofing material.

I made movies and took pictures while Brad and Floyd did the work.

Here are the resulting pieces. Plenty of work for me to do now.

roofpieces


Rewiring the Batteries for Solar

Written by brad on August 21st, 2011

When we installed the solar equipment, one thing I was never sure of was wiring the batteries. I’d read several articles that suggested it was tricky but had no clear cut instructions. I asked friends and relatives and we all pretty much decided that as long as everything was connected it would be fine. I added some in between connections to make double sure all the batteries received a good charge. Here’s the post.

When I was researching the issue with a drop in solar production I ran across this guide for wiring the batteries that made me question how I wired ours. This article has four ways of wiring the batteries. It looks like method 1 is the worst and method four is the best. I decided to use method 3 because it was dead simple and I had all the parts. The parts are big fat wires and they are expensive.

The method I used is called the star method. In simple terms we have six 48 volt batteries that need to be wired in parallel. To do this you take the red leg from each battery and wire them all together along with a leg that goes to positive on the inverter. Do the same for black to the negative leg of the inverter. It’s important that all the wires from the batteries are the same length. Also the two legs from the inverter should be the same length. This means that the distance from the inverter to each battery is exactly the same. That’s what we are after.


We have seen the trogon!

Written by karen on August 17th, 2011

When people come to Portal to birdwatch, the elegant trogon is the treasured sighting everyone hopes for.

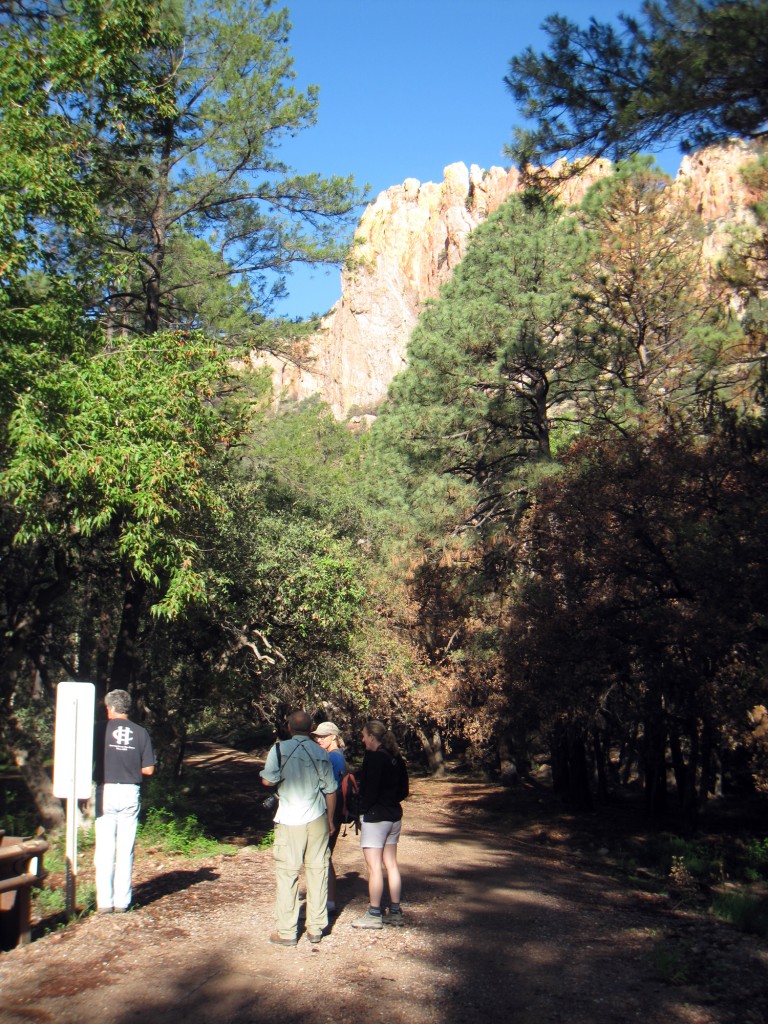
After almost three years of living in a world-renowned birdwatching area, we have gone on our first birding expedition, thanks go our friends Sukon and Michele and a new birder friend Elaine. And we saw and heard the trogon!

We spotted a wide variety of other birds as well, most of which I can’t remember, though a list has been recorded. My favorites were the red-faced warbler, the lesser goldfinch, and the lucifer hummingbird. (In fact, we saw something like seven different types of hummingbirds.) Thanks to great tutelage from our friends, we might even be able to do some birding with other visitors in the future.

Very exciting to us on this trip was that we ventured into the national forest for the first time since the fires and found that there was not as much damage as we feared. Many trees were burned, but not killed, and a lot of undergrowth has begun to grow back.

birding

We also saw a lot of beautiful wildflowers, which have begun to come up with the monsoons.


46,000 pounds

Written by karen on August 4th, 2011

For about two years, we have been searching for a supplier of adobe bricks.

Mostly, I love doing everything ourselves, but fencing 40 acres and making our own adobe were two things I’d rather not do.

So we pursued numerous avenues. There was a guy who would come make bricks right on our property that we were excited about. Except that he never seemed to be able to come out here and the price kept going up. Then rumor had it that there were a couple local suppliers. None seemed to be in business anymore. Of course, there was the route that several people we knew took of getting bricks in little batches from Mexico, but the stories of how that went were too terrible to recount here.

Finally, about a month ago, Brad found New Mexico Earth Adobes in Albuquerque who said they’d make and deliver bricks. Delivery is always a big problem here, and especially with adobe which is very, very heavy and not economical to ship. Just a few weeks ago, this place had a “sale” on bricks, and so we jumped on it. Delivery was all set, and we upped our order to a whole truckload.

The driver was scheduled to arrive at 6am this morning.

At 5am, our alarm went off. A minute or two later, Brad said, “I hear the truck.” It was pitch black.

We dressed hurriedly and got ready to receive. Our friend who helped us forklift the vigas had also agreed to help unload this truck, because the driver wasn’t permitted to bring a forklift into AZ (the many-eth time we’ve had cross-state permit issues.) He wasn’t scheduled to be there until 6 so Brad went out to see the driver.

Next problem — this was the 2nd truck that couldn’t get in our driveway. (Perhaps not coincidentally, they were two of our largest and heaviest deliveries.) The 70+ foot truck wasn’t a problem, but he had an enormous sleeper cab that wouldn’t make the turn into the gate without taking out a post.
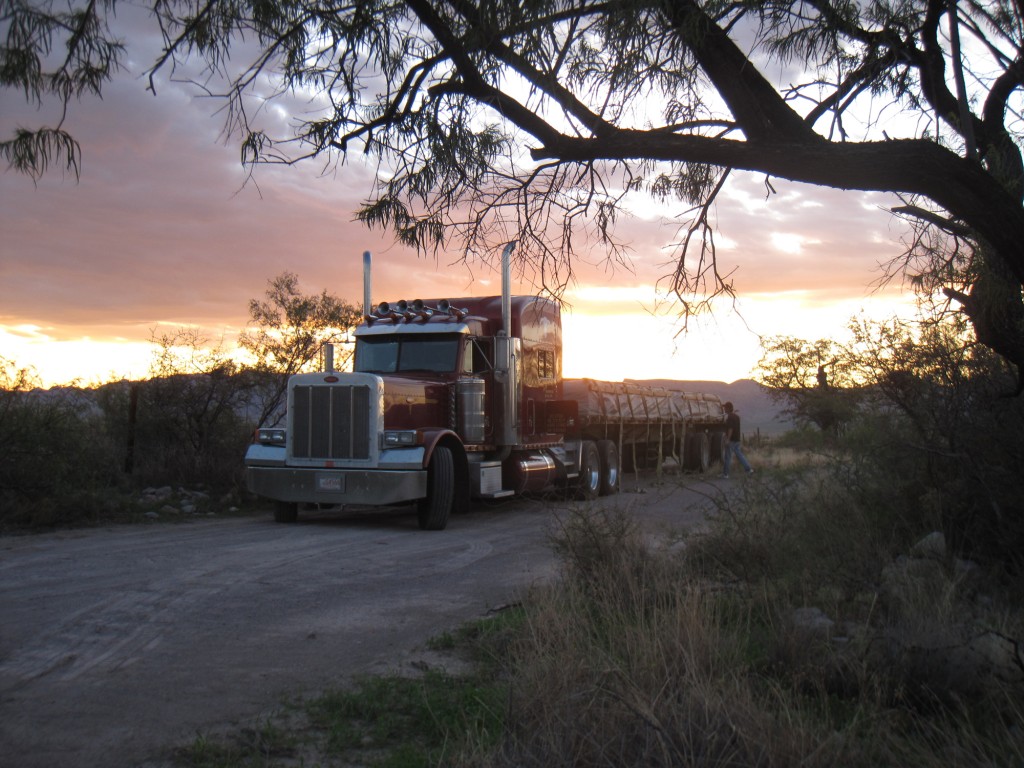
truck

So….we adjusted plans and decided to unload all the bricks at the front gate and then to transfer them up to the house.

Another issue, but one we already knew about, was that our friend’s forklift couldn’t lift the 2500 pounds that each pallet would normally weigh. The company agreed to pack them at 2000  pounds (at no charge beyond the extra pallets – much appreciated), but even that seemed a little heavy, so Brad and I transferred about 12 bricks from each pallet to some extra pallets we had. They weigh about 30 pounds each. That is  a lot of weight to move by hand, and as we did it, I knew that this was only the first of many times we’d undoubtedly be moving these by hand. (Who needs a gym?)
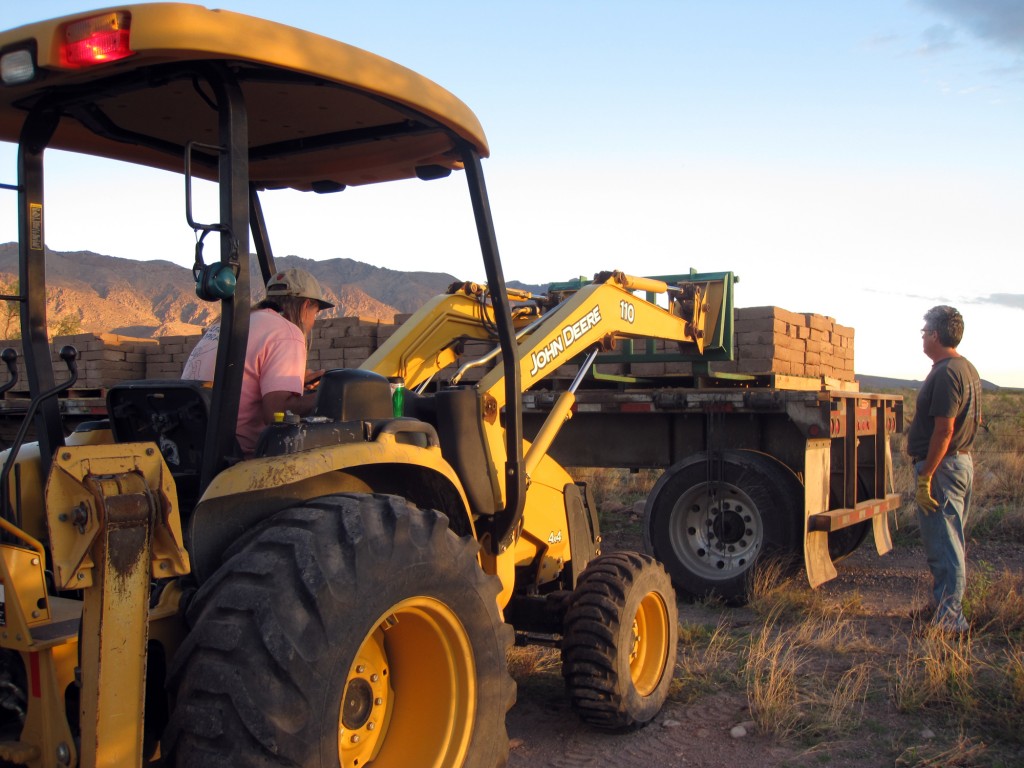
unloading

All went well. Here’s the truck before and after:
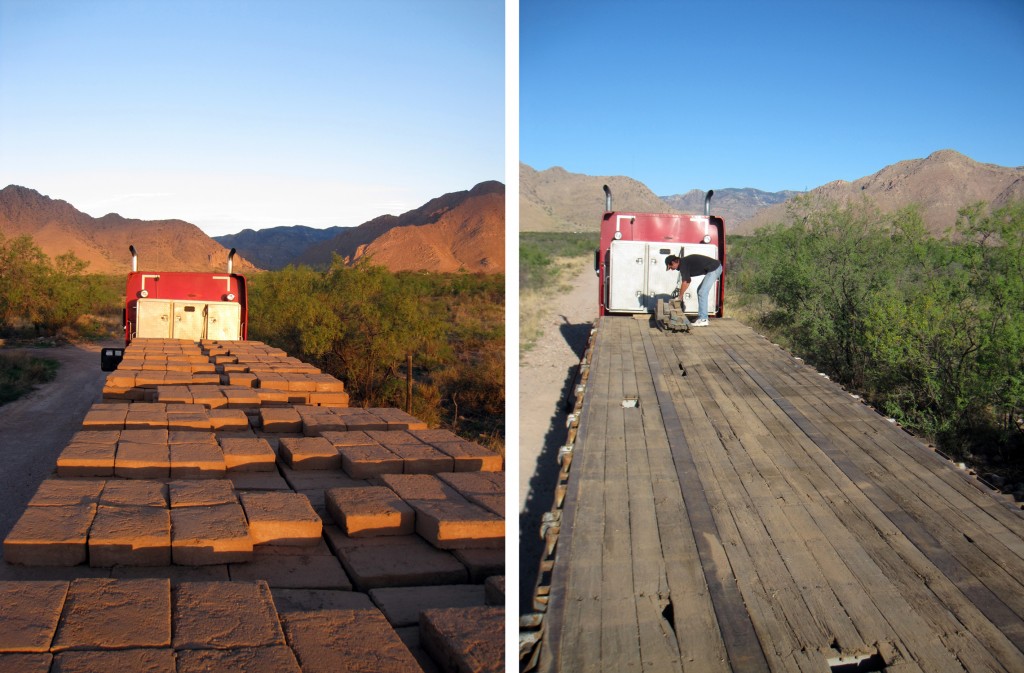
beforeandafter

And here’s the staging area at the front gate.
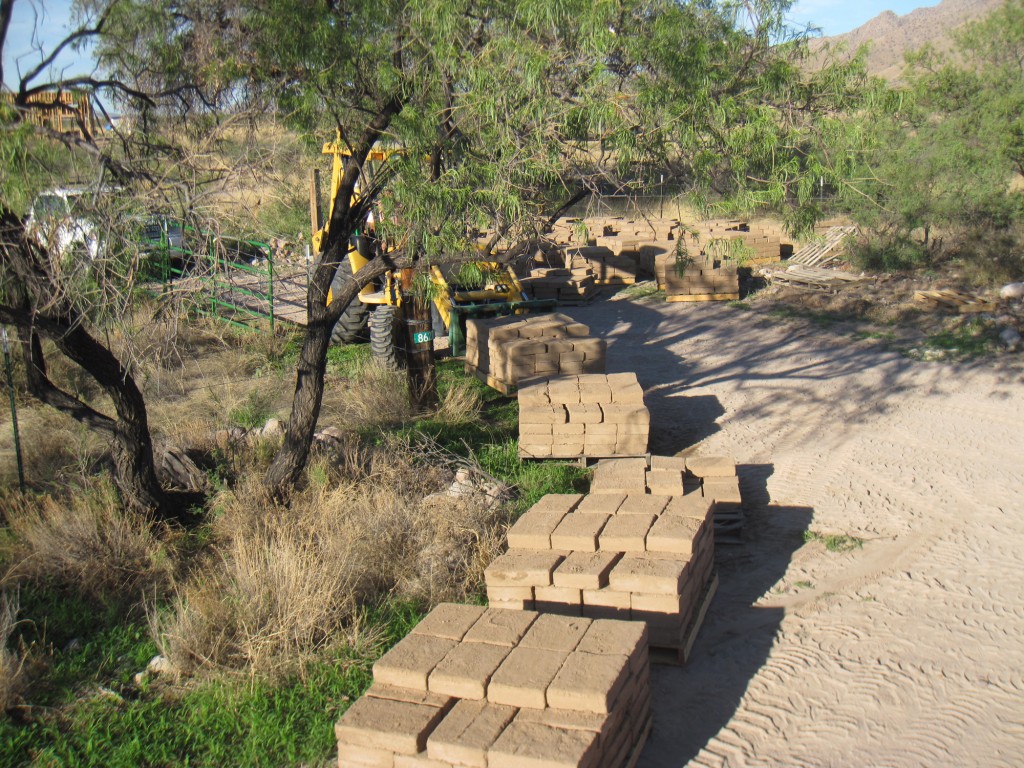
staging

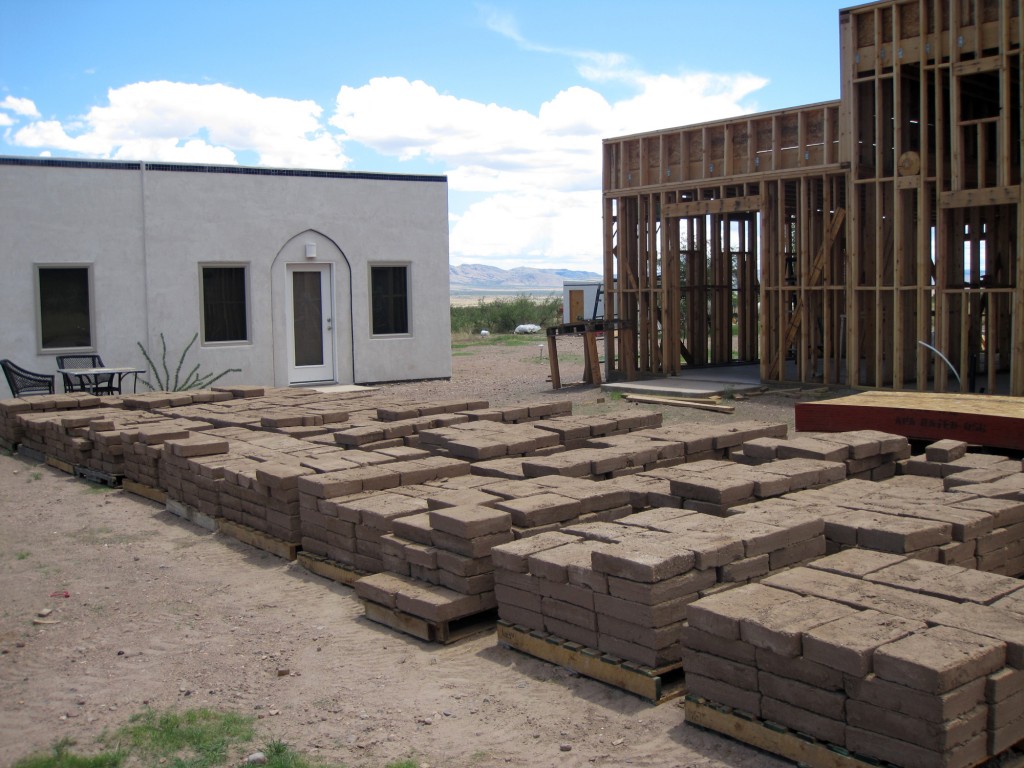
And finally in their temporary storage spot (where our lovely patio will one day be). This picture also gives a good idea of the proximity of the two houses.
by_houses

The bricks are lovely, very uniform and durable. We broke almost none in the various moves today (and we’ve seen adobe bricks that broke if you sneezed and melted in the rain — these are stabilized though.)

It will likely be some time before we start building with this. We have to get the whole house covered and electrical in first. It’s great to have this looming procurement challenge behind us though.


Roofing process

Written by karen on August 3rd, 2011

So we’re deep into the roofing. Because we didn’t document the first steps last time around, we’ll do it here.

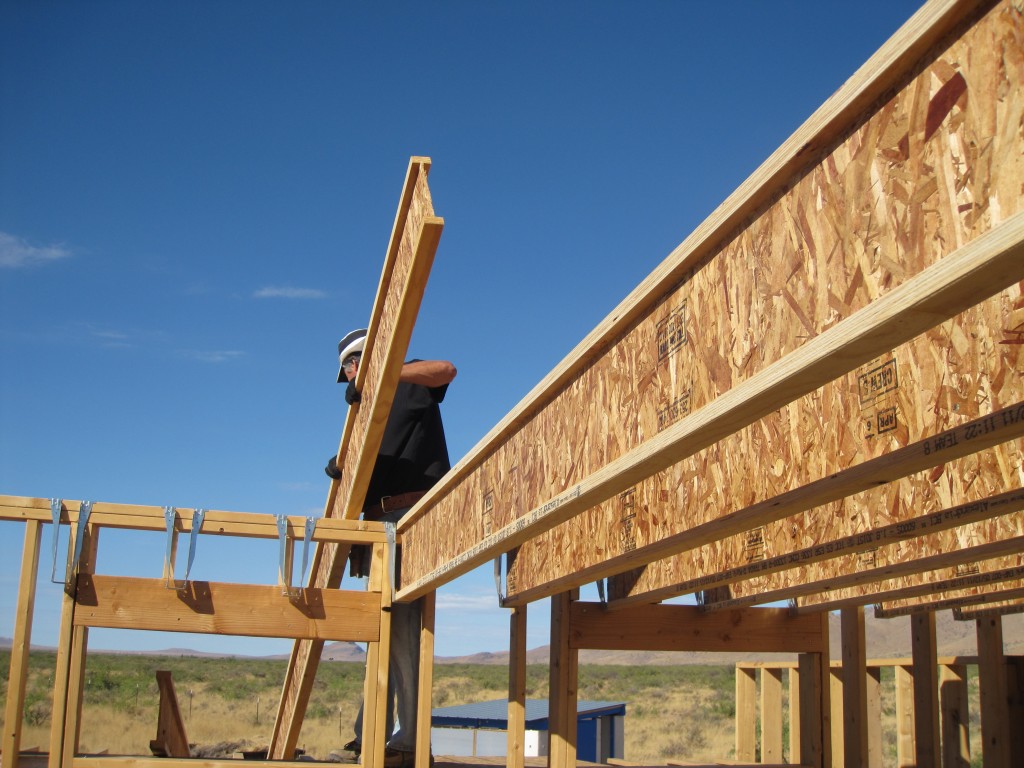
After the i-joists are up, the next step is to put up OSB (sheathing, plywood). The sheets have to be cut so that each ends mid-i-joist. When the sheets are cut and put down, I put a few screws in them to hold them down. (Later, they’ll be nailed.) This time, we’re putting little clips on the edges to make it stronger (upon recommendation by a construction friend).

osb_roof

The OSB is down and it's time to keep the rain off.

After the whole section is done, we’re ready for the nailing. First, though, we chalk a line where each i-joist is so that we can nail along them. Every sheet gets nailed every 6″ or so along the entire length of the i-joist. This is hot work! Thank god for the nail gun.

It’s important to hit the i-joist. After we’re  done with this, I go downstairs and look for any nails that missed (“shiners”). There aren’t many misses, but they’re usually along seams that have to be nailed on both sides. The shiners have to come out. Otherwise, they will wiggle around and come up through the underlayment.

For those interested in the division of labor, Brad usually does the cutting and positioning. I do the screwing and nailing.

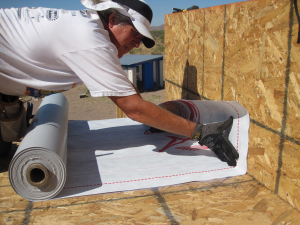
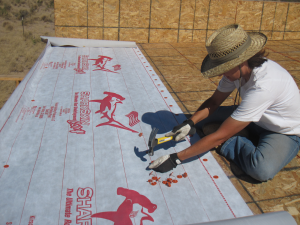
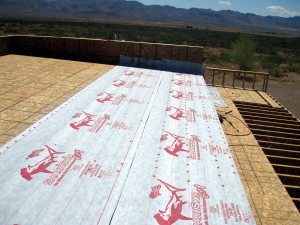
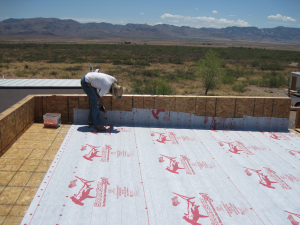
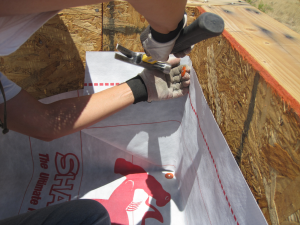
Next step is the underlayment. (We use Sharkskin.) This is rolls of wrap that go down over the OSB and before the metal roofing. It is all nailed by hand. The nailing pattern is every 6″ long ways and every 12″ width-wise. The overlap is 3-4″. The corners are wrapped like present corners. Brad seems to think I have a knack for them. (She does.)

underlayment1

Start in the corner and really try to keep it straight.

underlayment2

Karen does most of the nailing while I keep the sharkskin tight.

underlayment3

Two rows down.

underlayment4

Ready for the last row. It has to be rolled out before it can be nailed because of the parapet.

underlayment5

Karen's corners - because there are no cuts, they should be very water tight.

As of today, we have Skarkskin on all the high roof and OSB on the rest. We should be ready for metal in a couple weeks if not sooner.


A River Runs Through It

Written by karen on July 29th, 2011

Yesterday, we got our first really big rain.

I was driving across NM in the afternoon and saw hail, torrential rain, and line after line of thunderstorms, punctuated occasionally by rainbows. By the time, I turned south off I-10, I felt like I was a part of Stormchasers crew heading into the eye of the storm.

It was the first time there was enough water that we didn’t think it was safe to drive the Mini down Sunrise, so I left it at the gate on 80.

While I was waiting for Brad to pick me up in the truck, I heard the oddest chorus of crying frogs. It sounded like I was deep in the rainforest. (And where are all these frogs when there is no rain?)

I got up this morning to go take a picture of the river running through the bottom of our driveway, but by then it was gone. It is amazing how fast the land here soaks up so much water.


Careful planning pays off

Written by karen on July 20th, 2011

Today was the day when the big vigas went into the house.

We spent most of the day yesterday planning and preparing for this. In order to finish them, we are putting the vigas in at a lower height than they’ll eventually go (ultimately, they’ll be pressed against the top of the ceiling) . Then later we’ll jack them up to the top.

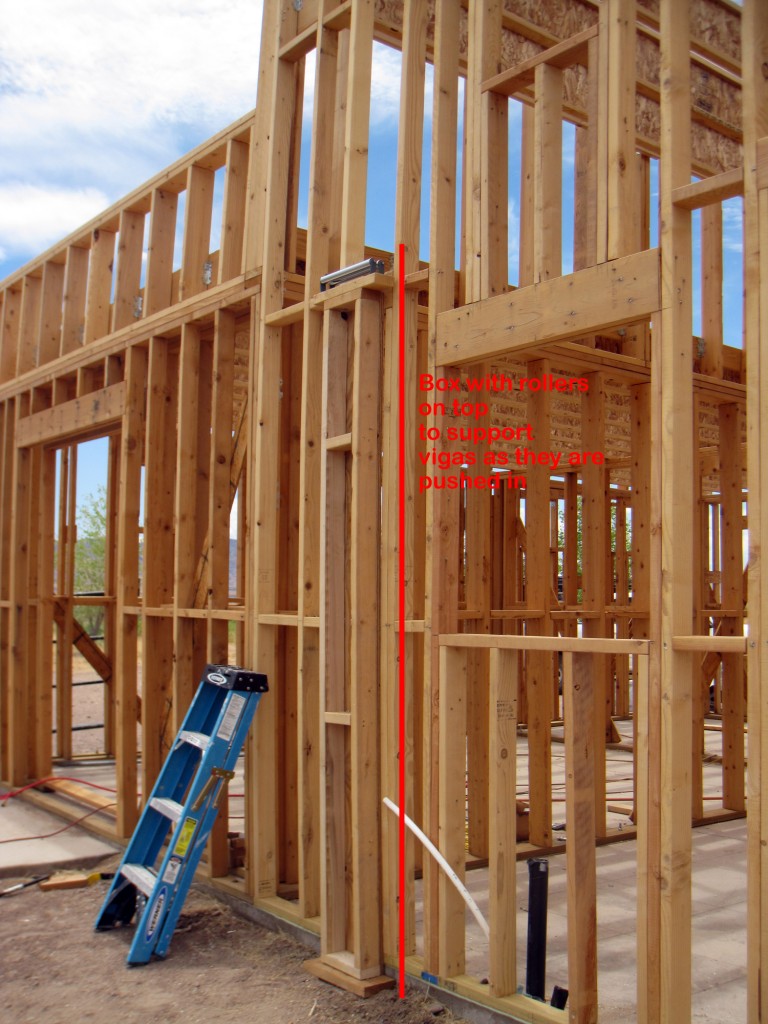
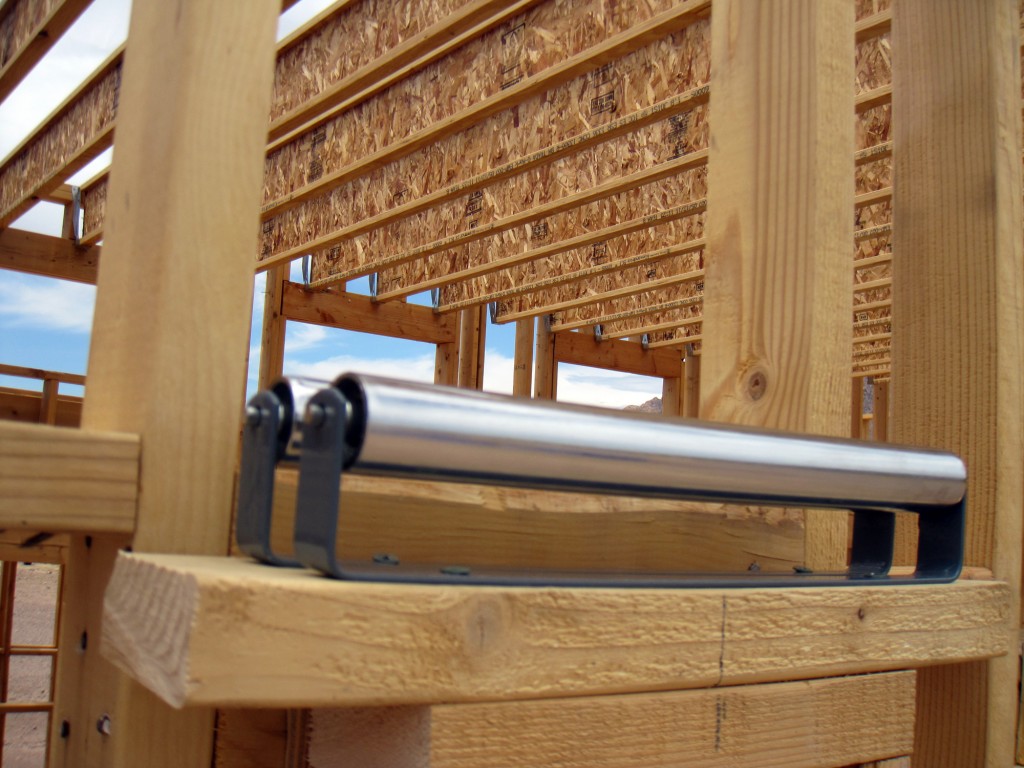
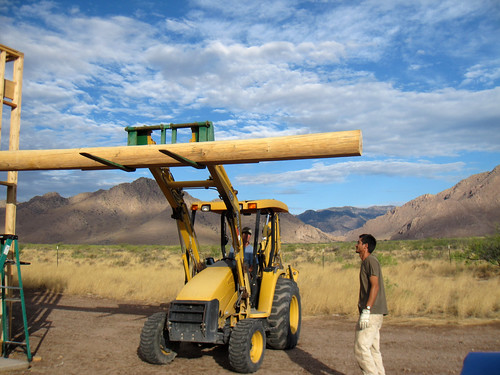
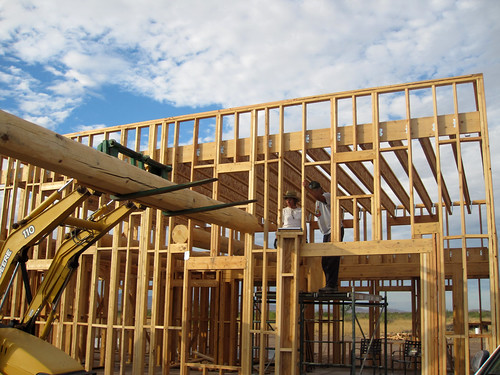
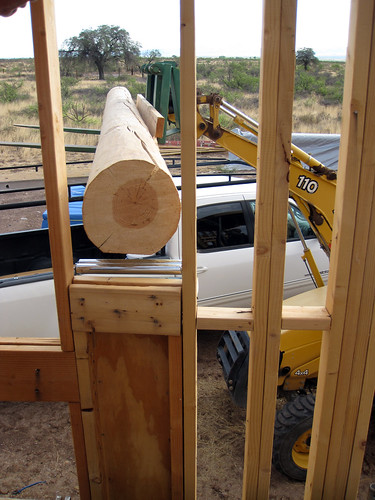
To get the vigas in, we planned to use a backhoe with forklifts to push the vigas into the side of the house. On the outside wall they’d go through, we’d built headers. We also built a box with rollers on top of it to help ease each viga in. (They are incredibly heavy.) The box was leveled on platforms we built for each of the five viga locations.

roller1

roller2

Once the ends of the vigas were pushed in, they’d sit on scaffolding in the middle of the house. We built a strong box on top of the scaffolding to hold the vigas.

Once the vigas were on the scaffolding, we’d push them to the other side, where they’d rest on top of the glulam.

So that was the plan.

And amazingly enough, it went pretty much according to plan. Our worst case was that it might take 6 hours (with four of us and a backhoe). In fact, the whole thing was done in under 2 hours.

More pictures here.  (slideshow version)

They look so beautiful. Next stop — a roof!


Weather

Written by karen on July 19th, 2011

We do get some amazing weather here.

IMG_2135

IMG_2139

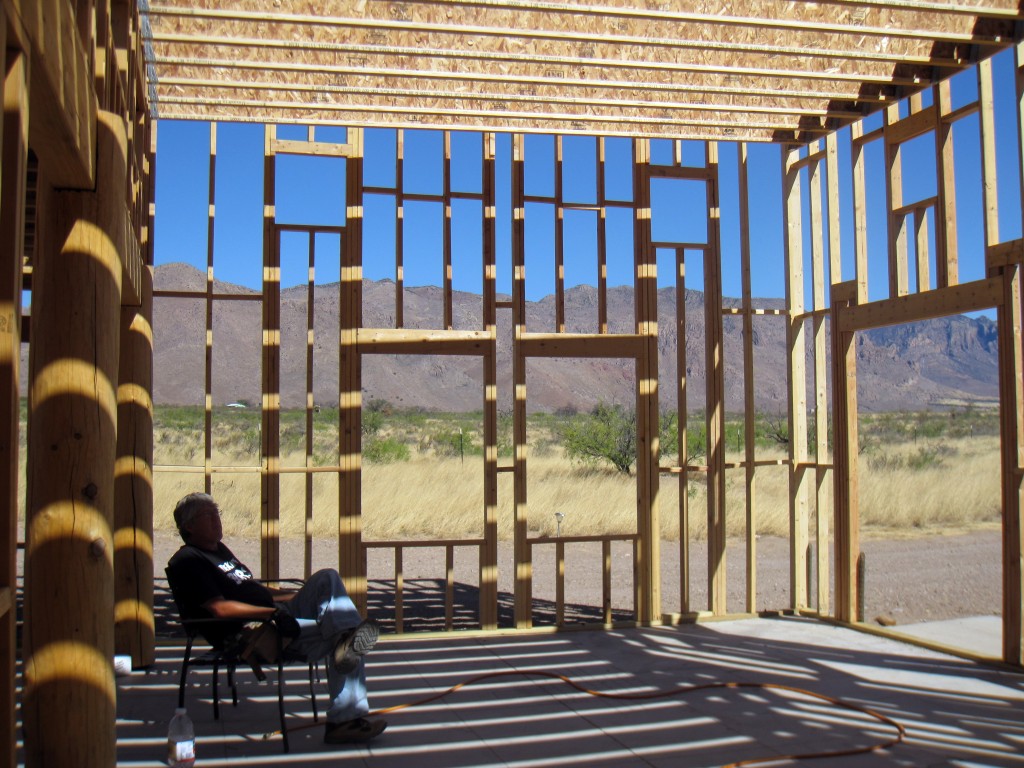
Right after this, the sky opened up. A few minutes later the sun came out. Still pouring though.
IMG_2140


Getting a better idea of what this will really look like

Written by karen on July 14th, 2011

In our on-going quest to see how much work we can plow through in a short period of time, we got the last of the i-joists up today. These were on the high part of the roof in the big room.

We did the ledgers and hangers all yesterday, so the process today was cut the i-joists to fit, hoist them onto the roof, go up on both ends (Brad on the short roof, me on the scaffolding), lower the i-joist into the hangers, repeat, repeat. Afterward, we nailed a ton of brackets.

IMG_2096

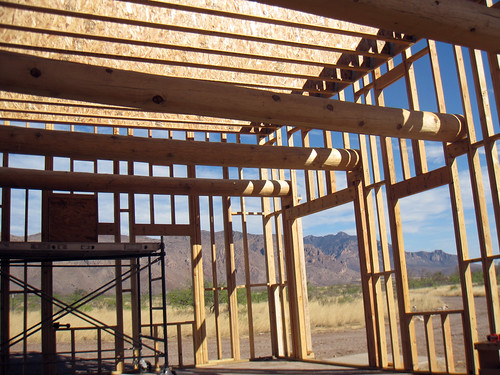
It really isn’t until you get the roof on that you can tell what a room is going to be like.

We’ve looked at drawings, 3D models, etc. of our house, but today we really saw what it will be like. Wow.

IMG_2114