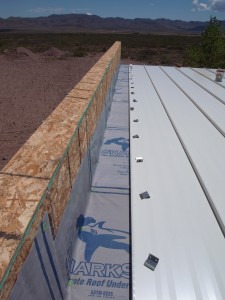
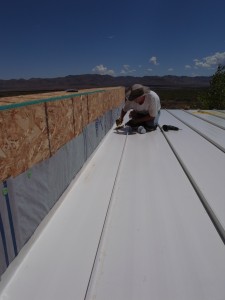
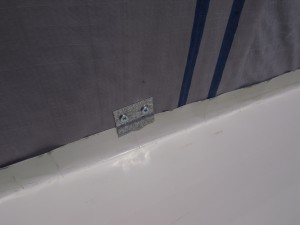
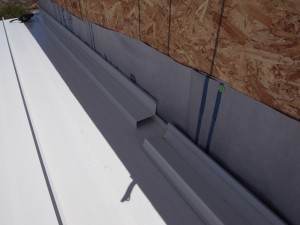
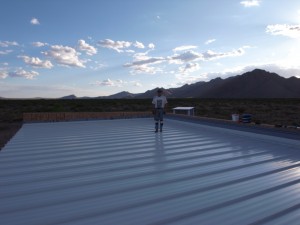
roof

...now browsing by tag


Another day, another roof

Friday, August 26th, 2011

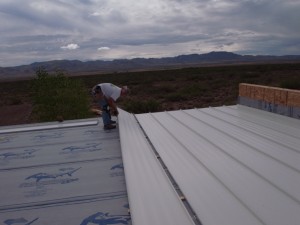
Three sides of the house are now covered with only the short side still to do.

virga-082611

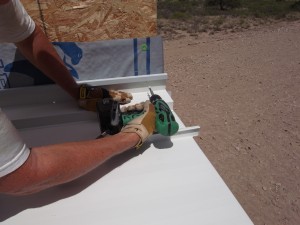
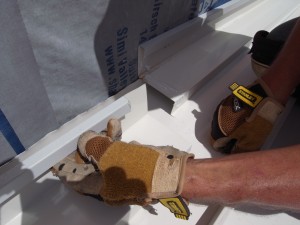
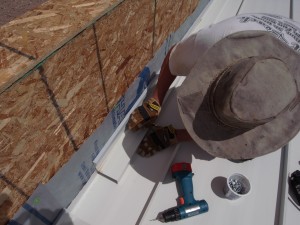
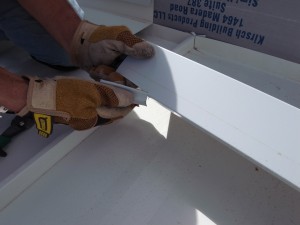
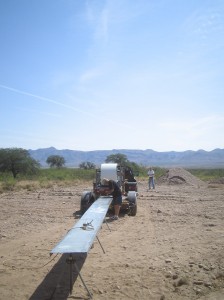
And today our friend Floyd from MasterCraft Metals came out to cut and deliver our roofing material.

I made movies and took pictures while Brad and Floyd did the work.

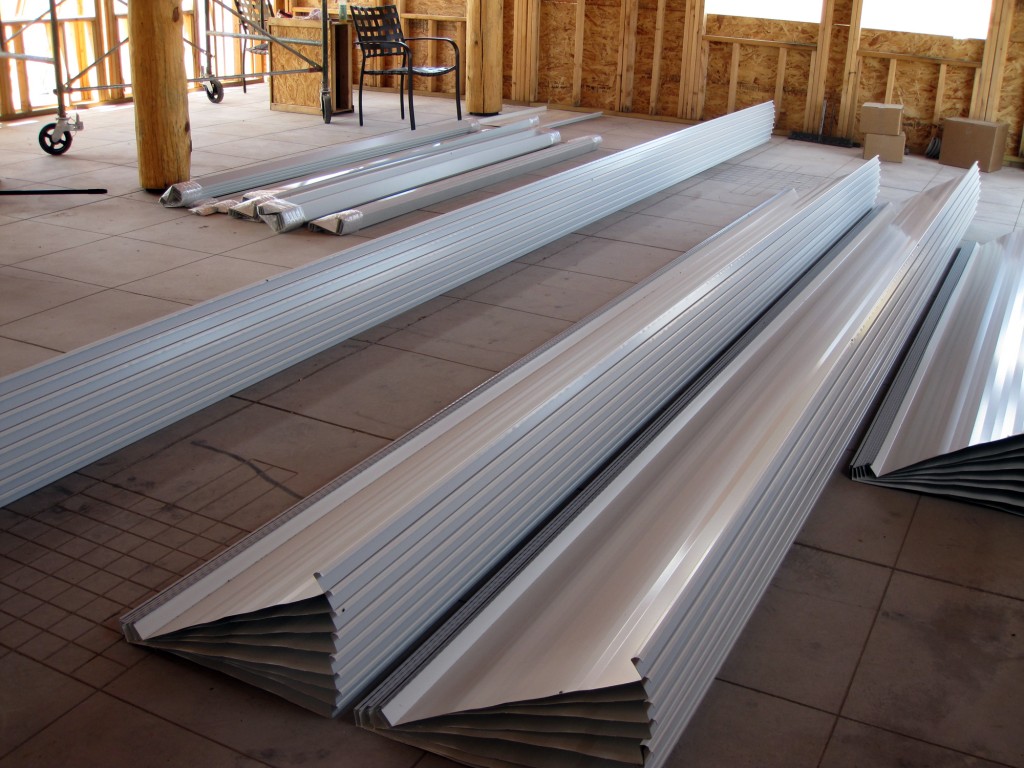
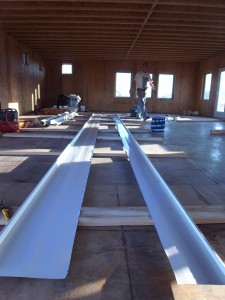
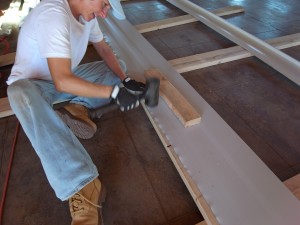
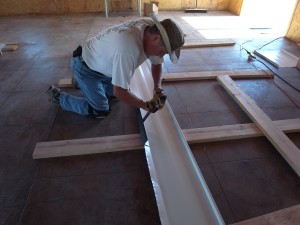
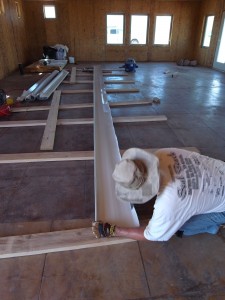
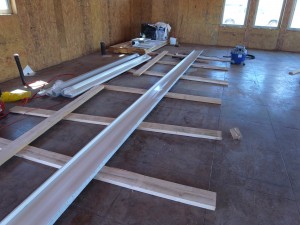
Here are the resulting pieces. Plenty of work for me to do now.

roofpieces

Roofing process

Wednesday, August 3rd, 2011

So we’re deep into the roofing. Because we didn’t document the first steps last time around, we’ll do it here.

After the i-joists are up, the next step is to put up OSB (sheathing, plywood). The sheets have to be cut so that each ends mid-i-joist. When the sheets are cut and put down, I put a few screws in them to hold them down. (Later, they’ll be nailed.) This time, we’re putting little clips on the edges to make it stronger (upon recommendation by a construction friend).

osb_roof

The OSB is down and it's time to keep the rain off.

After the whole section is done, we’re ready for the nailing. First, though, we chalk a line where each i-joist is so that we can nail along them. Every sheet gets nailed every 6″ or so along the entire length of the i-joist. This is hot work! Thank god for the nail gun.

It’s important to hit the i-joist. After we’re  done with this, I go downstairs and look for any nails that missed (“shiners”). There aren’t many misses, but they’re usually along seams that have to be nailed on both sides. The shiners have to come out. Otherwise, they will wiggle around and come up through the underlayment.

For those interested in the division of labor, Brad usually does the cutting and positioning. I do the screwing and nailing.

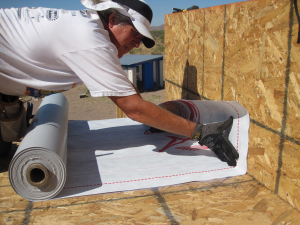
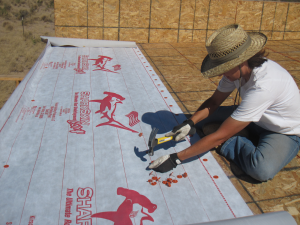
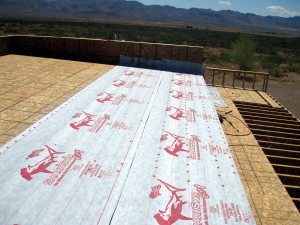
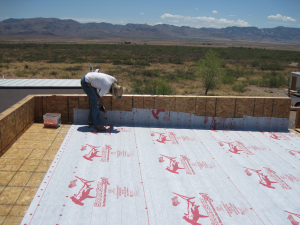
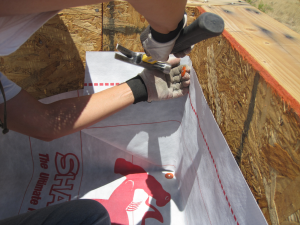
Next step is the underlayment. (We use Sharkskin.) This is rolls of wrap that go down over the OSB and before the metal roofing. It is all nailed by hand. The nailing pattern is every 6″ long ways and every 12″ width-wise. The overlap is 3-4″. The corners are wrapped like present corners. Brad seems to think I have a knack for them. (She does.)

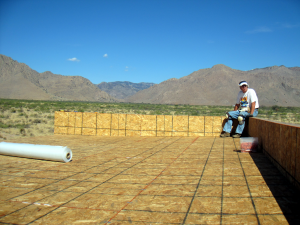
underlayment1

Start in the corner and really try to keep it straight.

underlayment2

Karen does most of the nailing while I keep the sharkskin tight.

underlayment3

Two rows down.

underlayment4

Ready for the last row. It has to be rolled out before it can be nailed because of the parapet.

underlayment5

Karen's corners - because there are no cuts, they should be very water tight.

As of today, we have Skarkskin on all the high roof and OSB on the rest. We should be ready for metal in a couple weeks if not sooner.

Getting a better idea of what this will really look like

Thursday, July 14th, 2011

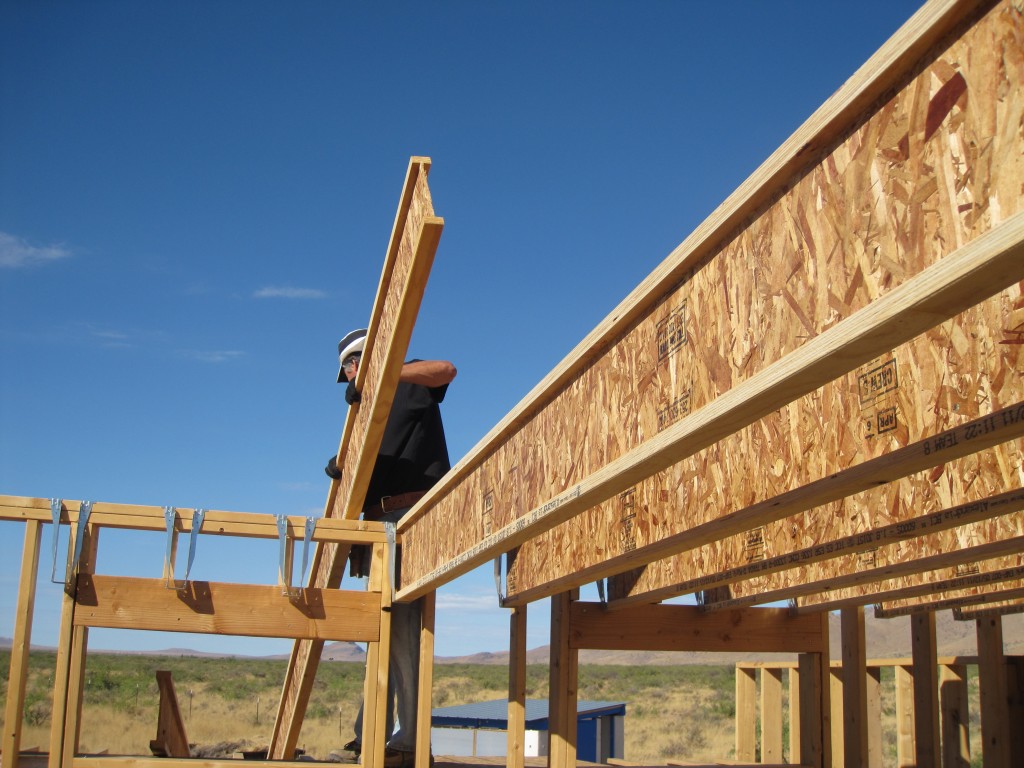
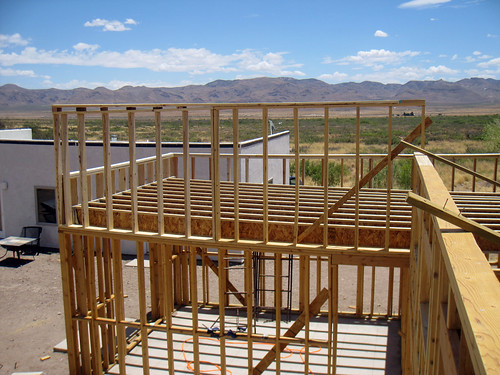
In our on-going quest to see how much work we can plow through in a short period of time, we got the last of the i-joists up today. These were on the high part of the roof in the big room.

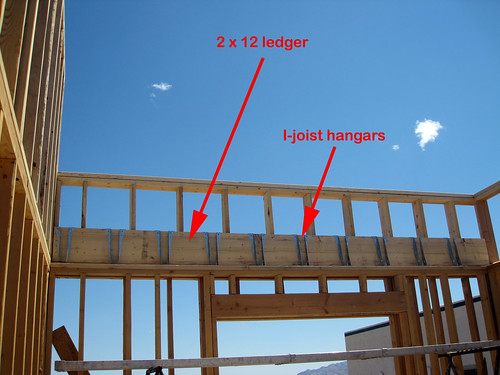
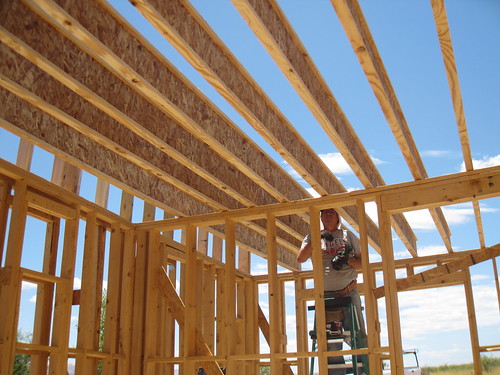
We did the ledgers and hangers all yesterday, so the process today was cut the i-joists to fit, hoist them onto the roof, go up on both ends (Brad on the short roof, me on the scaffolding), lower the i-joist into the hangers, repeat, repeat. Afterward, we nailed a ton of brackets.

IMG_2096

It really isn’t until you get the roof on that you can tell what a room is going to be like.

We’ve looked at drawings, 3D models, etc. of our house, but today we really saw what it will be like. Wow.

IMG_2114

Ebb and flow

Saturday, July 2nd, 2011

It’s weird how construction progresses. It seems like sometimes we work a lot and the progress is slow, and other times, things seem to leap ahead. That was today.

We got up at 5am to get some work in before the heat set in. By noon, we’d not only finished all the remaining parapet walls, but got the back half of the house’s i-joists (ceiling beams) in. Amazing.

To put up the i-joists, we first had to hang  a 2×12 ledger board to which the hangers would attach. (Oh and before that, we had to move a gigantic stack of lumber. More fallout from the delivery without a bobtail.)

(Sorry about the misspelling in this photo; I’m too tired/lazy to fix it.)

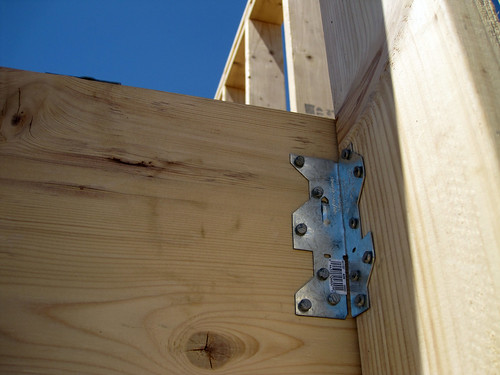
On the other side of the ledger, a bracket attaches to each stud to make sure it can carry the weight of the roof. Each bracket has 12 nails in it, and they’re at very difficult-to-get-to angles. Perfect work for the palm nailer!

These are the long i-joists, running the whole width of the house, over our bedroom and the office/laundry.

Here’s the bedroom side. The high wall in the foreground is the back wall of the kitchen, which has (or will have, I guess) a high ceiling like the great room.

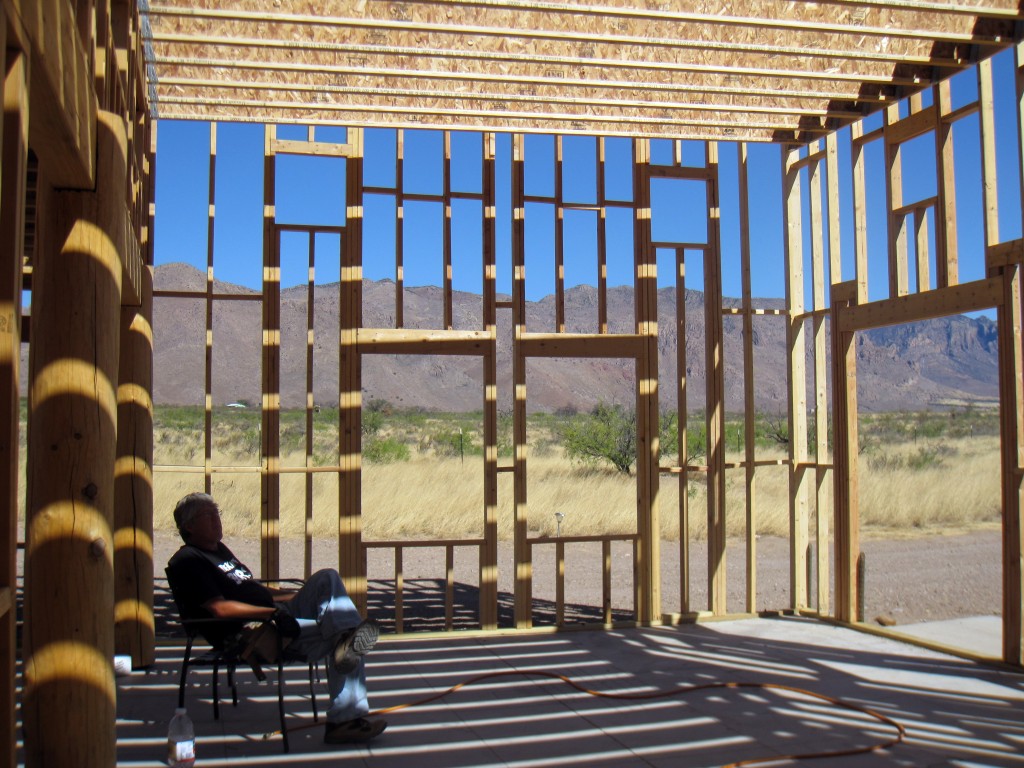
I put a lid on it

Saturday, October 17th, 2009

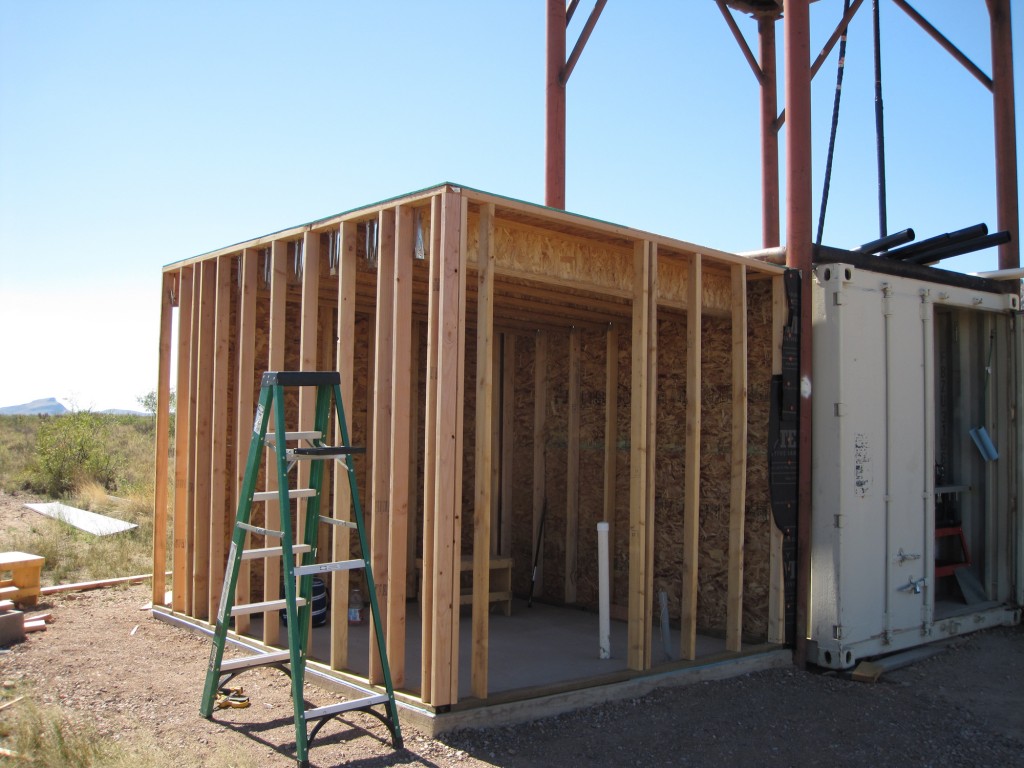
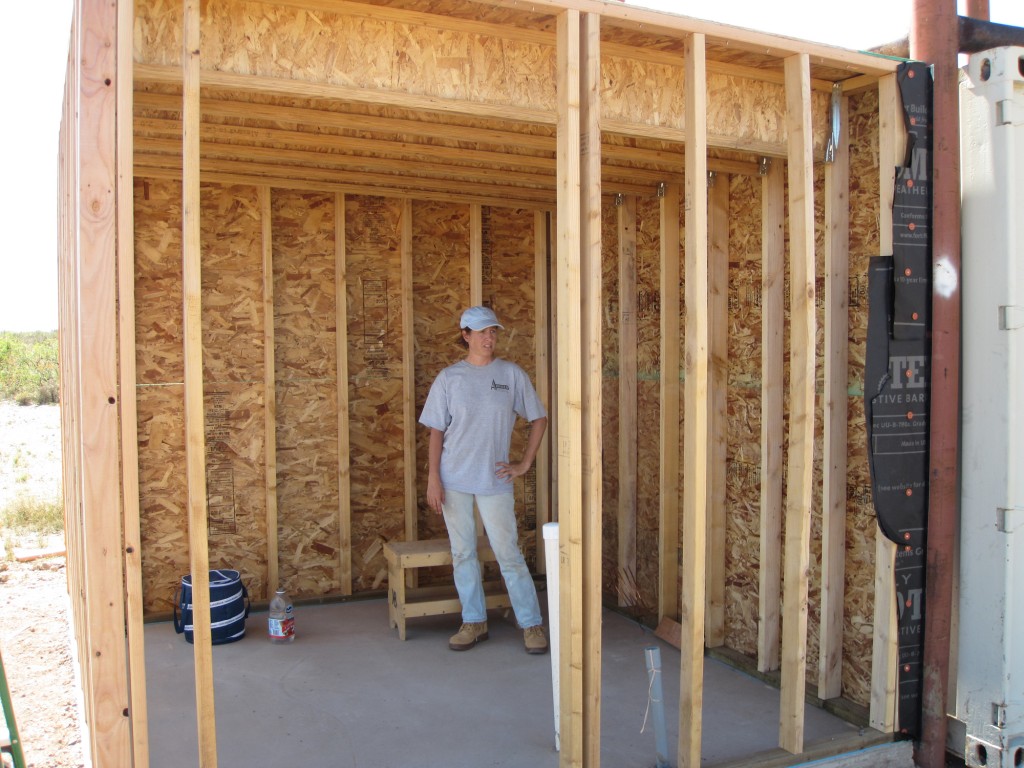
The battery house is progressing nicely. Yesterday, while I had some other work to do, Brad put up hangars for the i-joists. Then this morning, we cut and put in the i-joists. Then while Brad cut OSB for the decking for the roof, I nailed it all on. I didn’t count the nails, but it was a lot. A 9′ x 12′ space with i-joists every 16″ and nails every 6″ on every i-joist and every edge. Very satisfying work. Brad also got the back wall covered with decking which added quite a bit of stability to the whole structure. I do think that framing is one of my favorite parts of construction.

battery-101709-a

battery-101709-b

Now, for an update on some of the everyday details of our life here and some of the things we worried about initially and how they’ve worked out. (Feel free to stop reading now.) The 50 mile distance to a grocery has been no issue at all. We go shopping  every couple weeks, though we sometimes go into town more often in need of construction supplies. I cook every day, and we eat better than we ever did in California.

We just ate our first salad with produce entirely grown ourselves. The compost…well…it’s about the same.

The guesthouse we are staying in continues to be a godsend in terms of easing the whole building process, though I am anxious to move into our own house. This will most likely not happen by the end of the year, but I am hoping for early next year. I keep thinking of ways we could move sooner, but always forget about that pesky occupancy certificate.

We have both lost weight and are in better physical shape than we’ve been in a long time. (Amazing for me, since I’m eating more than I’ve ever eaten. I’m worried that when we stop building, I’ll gain a ton of weight.) We are still running every week, but the yoga has fallen by the wayside for now. We’ll resume it again at some point. Brad found a new doctor that he really likes, and his  blood sugar, etc. is better than it’s ever been.  I have started taking the full recommended dose of Gucosamine/Chondroitin/MSM, and my hands are better.

Our Internet here is great (more reliable than the phones and/or power sometimes), and we don’t miss cell phone service. We have started using Google Voice which works well. We don’t miss much from “civilization” except for the occasional sushi (which we have in Tucson) and once or twice, a movie (Julie & Julia…, Star Trek, which we’ll catch on pay per view).

I love my new camera. (In case you don’t get enough of the photos here, you can always check out our Flickr page.)

My planned decrease in regular “work” work has gone well. I’ve been able to spend a good amount of time working on the house, while still maintaining enough business to pay the phone bill. :) I am doing projects with three local school districts now as well. I’ve managed to reduce my travel significantly. I have a couple projects that are ramping up now (one that involves no travel and one that could be a lot of travel but only for a few months) and am a little worried that will cut into construction, but we’ll see.

We love spending 24/7 together (but that’s not really a change). And I especially love working outside in the sun almost every day. Very good for the mental health.

All in all, we are loving it here. Come visit!

DIY guide for a standing-seam steel roof with a parapet – part 3

Monday, September 7th, 2009

I have put it off long enough, it’s time for the last panel. Our last piece needs to be cut to 10 inches wide… the entire length. (Before we did this, we went to the roof and measured and remeasured. We even cut a sample piece and tried it. You really don’t want to do this wrong.) We considered all possible ways to do this. Using a skillsaw (with the blade in backwards) was a way recommended to us. The sound was unbearable (Yes, we tested it.) and more importantly, I didn’t feel I could keep a straight line. We thought about using our sawzall, but again I was not sure I could get a clean cut. In the end we just used our trusty tin snips. There was a lot of sweat involved, but we ended up with a nice clean edge.

Prepping the last panel

We had to do this without the tools from Mastercraft Metals because this piece was too narrow for them to fit. To be clear, we still had the tools, and we used them, but not in the ways they were intended.  I put on my MacGyver thinking cap and I came up with a good way to build the box end.

When I finally got going fast, I noticed I was leaving large-ish waves in the metal

When I finally got going fast, I noticed I was leaving large-ish waves in the metal

It's done, we need to straighten out those waves next

It's done, we need to straighten out those waves next

Karen hammered out the waves with a deadfall hammer we borrowed

Karen hammered out the waves with a deadfall hammer

Now things get tricky. The entire length of this piece needs to have the cut edge bent up at ninety degrees much like the pre-fabbed pieces did. We used the tool for forming the box edge all along this edge to do this. Note that you can’t just bend it up to ninety all at once. You have to do it a little at a time down the entire length and then go back again. This was very hard work. Karen would pound the tool with a hammer toward the next position while I pulled as hard as I could. Then we would reseat the tool and bend… repeat, repeat, repeat.

You can see that part of length is showing some bend

You can see that part of length is showing some bend

We are getting there

We are getting there

It's done! Furstrating, difficult and tiring

It's done! Frustrating, difficult and tiring

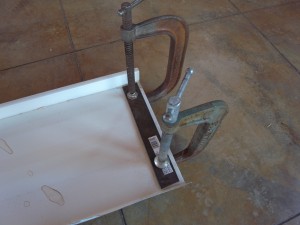
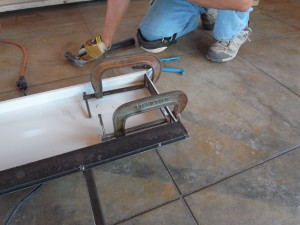
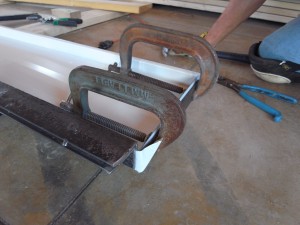
On to the next problem. How to build the box end without the handy-dandy tool for making box ends? Our neighbour Bill lent me two clamps and a piece of steel that he said was ok to cut. I cut it such that two pieces would fit inside our custom panel. I clamped them to the panel and folded it just like the tool would have done. Karen was even able to hammer the corners flat against it.

There's a piece of steel on the other side of the panel that you can't see

There's a piece of steel on the other side of the panel that you can't see

It worked like a charm

It worked like a charm, but note that we used the tool to strengthen the new edge while we made the bend

Finishing touched to the box end

Finishing touches to the box end

I don’t have a picture of it, but we were able to use the standard tool on the front edge. It fit fine once we made the normal half-inch cuts.

Wow, we never thought this last panel would come out so good.

Installing the last panel

There were a few tricky things about this, but nothing too bad. You can’t use the 1×2 boards for obvious reasons. We kind of hooked it on the previous panel and flipped it in place. We were lucky that our panel was wide enough that we could use the crimping tool just the way we did on the other panels.

We're ready to drop in the last panel

We're ready to drop in the last panel

It's in and fits perfectly

It's in and fits perfectly

We were warned that this last piece could rattle in the wind. Without the edge the panels normally have, the trim won’t really hold that edge down tight. Instead, we customized the clips a little and screwed them to the parapet and that held the panel down very securely.

Our custom made clips made the last piece as tight as the first

Our custom made clips made the last piece as tight as the first

Installing the trim

It had already been a long day, but we decided to push on through and finish the job. The trim went on easily, but like everything on this roof, it took time and it made us tired.

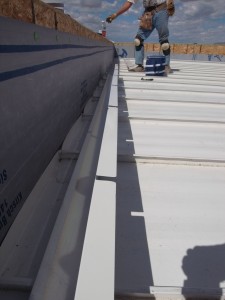
The trim is divided into two parts, the parallel and the perpendicular. The first runs parallel to the panel seams and the other runs perpendicular. As with all things roof related, you start at the bottom and go up. Therefore, the parallel trim goes first; the perpendicular is last.

There was little customizing required to install the parallel trim. It came in 10 foot pieces. Where they joined, you make a little cut so they can overlap three or four inches.

(One thing to check before starting this is whether the trim is covered with a film of protective covering. Ours were — but we didn’t see it until later after it was installed. This stuff would have been a lot easier to strip off before it was screwed down.)

Laid out and waiting to be screwed to the parapet wall

Laid out and waiting to be screwed to the parapet wall

The first screw

The first screw

Where two pieces meet

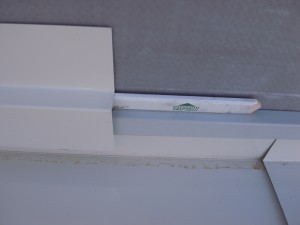
Where two pieces meet (Blow this up to see how these pieces fit together)

You can see that without an edge to hold up the trim on the customised last panel, you need to hold the trim even with the top edge while you screw it down

You can see that without an edge to hold up the trim on the customized last panel, you need to hold the trim even with the top edge while you screw it down

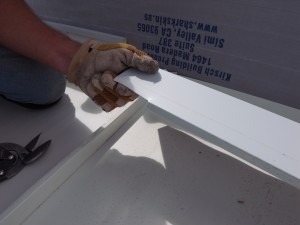
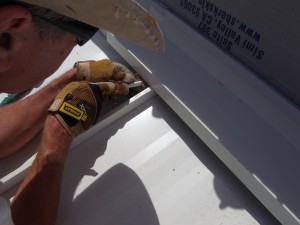
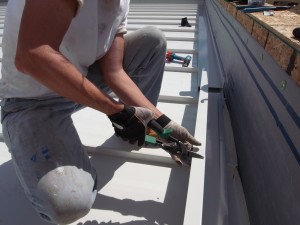
The perpendicular trim needed a little more customizing. It needed to be cut to fit over the parallel trim in each corner. It also needed to be cut to fit over each of the standing seams.

Putting the trim in place

Preparing the corner to fit over the parallel

It's ready to fit over the parallel

It's ready to fit over the parallel

Marking to cut around the standing seams

Marking to cut around the standing seams

Cutting out for the standing seams

Cutting out for the standing seams

It's ready to install, but I seem to need a drink first

It's ready to install, but I seem to need a drink first

It gets screwed to the parapet wall and on the seams

It gets screwed to the parapet wall and on the seams

A wider angle vew of things

A wider angle vew of things

I did mention it gets screwed on the seams...

I did mention it gets screwed on the seams...

Stucco Stop

Because we have parapet walls and we are going to stucco, we also have stucco stop. It’s just a piece of trim that we stucco up to. It’s designed so that if water gets behind the stucco, it will run down the underlayment and drip on the to roof. Cool.

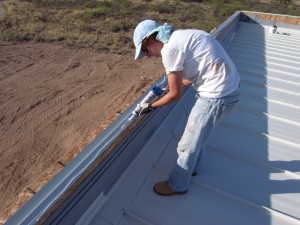
We're extra careful and free with the caulking

We're extra careful and free with the caulking

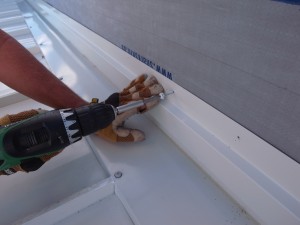
Just screwing it down

Just screwing it down

We used a construction pencil to keep the height even all the way around

We used a construction pencil to keep the height even all the way around

I guessed we skipped a few things… like, the way the stucco stop fits at the corners. I’m sure there were more. The main thing is that when I searched the web hoping to read about how to do this, I couldn’t find anything… at least nothing where parapet walls were involved. We’re just hoping this will be helpful to others. Since we have only worked with a roof from Mastercraft Metals, we really have no idea how generally applicable this guide is. As always, use your head.

Finished

It took us several long days, three I think, to install about 1200 square feet of roof. At the finish, we were ready for a break. We are very happy with the results. We have had a few rains since then and no leaking. Which is nice because the water that leaks through your roof is especially disgusting.

The end of a long day

The end of a long day

DIY guide for a standing-seam steel roof with a parapet – part 2

Sunday, September 6th, 2009

Assuming your underlayment is on, the first thing to installing a standing-seam roof is to install the panels. There are a few steps:

  1. decide which way the panels will be installed
  2. prepare the panels
  3. pull the panels up on to the roof
  4. position and attach the panels

Which way will the panels be installed?

The box end goes against the front parapet wall and the two seams overlap. Of those two, the side which goes on top, sits against your parapet side wall when you put the first panel up. The idea is that the second panel, must pop down on the first panel when its set beside it. I don’t have a picture, but think this over until you understand. You can’t make a mistake here.

Preparing the panels

In the case of a parapet roof, the panels need to have a box formed at one end and be bent down on the other. The box is made by folding the panel. What is cool about this is that without any cuts, there’s no place for the panel to leak. (Well, unless the water is so high at the top of your roof as to overflow the panels — let’s hope this doesn’t happen.)

Making the box end requires that you trim a little and then use a special tool to bend up the end of the panel such that the corners bend out. You then hammer the corners tight against the back of the panel.
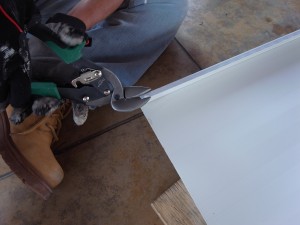
Both sides need trimmed back 1 1/2 inches
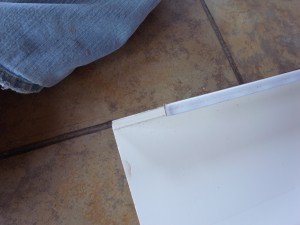
Both sides need trimmed back 1 1/2 inches

one side trimmed
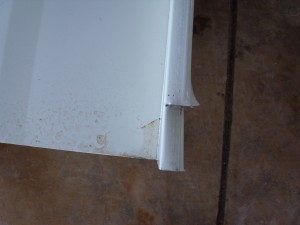
one side trimmed

trimming the second side

trimming the second side (note this still needs to be clipped off like the first side)

Once you have cut both sides of the panel back 1 and 1/2 inches, you need to put a little bend or crimp in the side to help it bend properly. A pair of thick needle nose pliers are ideal. Just grab at a 45 degree angle and bend out enough so when you start to bend the box, the metal bends out cleanly.
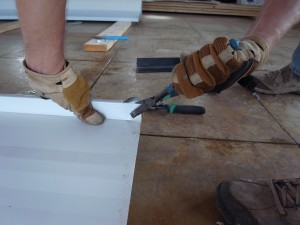
putting a crimp in the sides

putting a crimp in the sides

Then, you use a special tool (in our case, supplied by the roofer) to bend up the end of then panel to make a box.
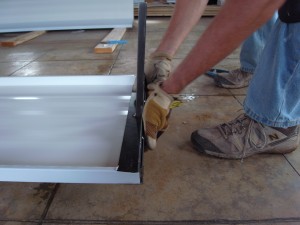
Fitting the tool on the end of the panel
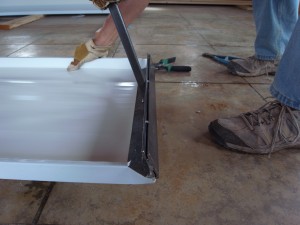
Fitting the tool on the end of the panel

Starting the bend
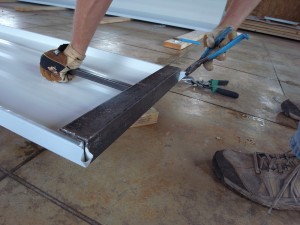
Starting the bend

The bend is at 90 degrees, see how the corner folded

The bend is at 90 degrees, see how the corner folded

Hammer around the corners and make sure the box end is square to finish the box.
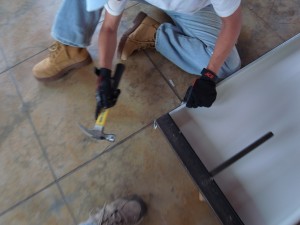
Hammer the corner against the back of the panel while the tools is still on
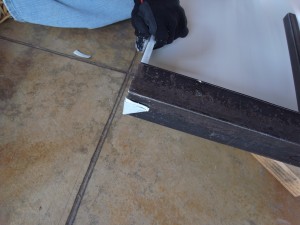
Hammer the corner against the back of the panel while the tools is still on

A properly folded corner
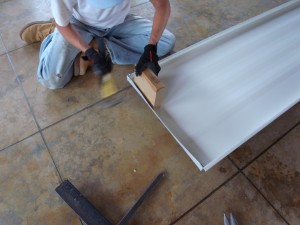
A properly folded corner

We used a block of wood to square up the end, propably not a requirement

We used a block of wood to square up the end, probably not a requirement

The box end is done. On to the front edge, which will hang off the end of your house. It’s easier.
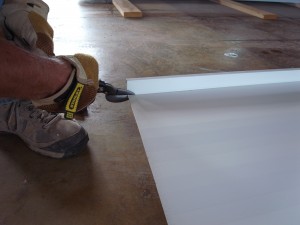
The front edge gets bend down, cut back 1/2 inch on both sides

The front edge gets bent down, cut back 1/2 inch on both sides
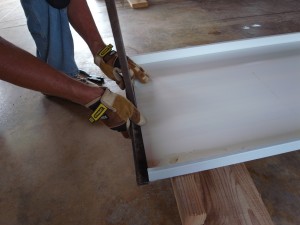
Slip on the tool and prepare for a bend of 45 to 80 degrees
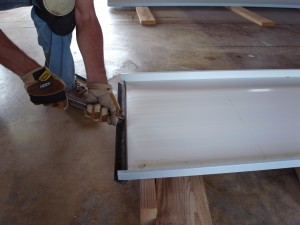
Slip on the tool and prepare for a bend of 45 to 80 degrees

Bending the front edge down
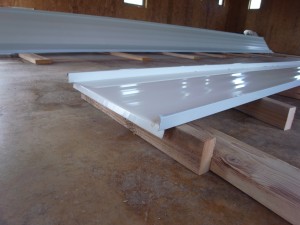
Bending the front edge down

Finished
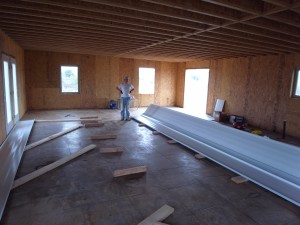
Finished

One done, getting ready for the next

One done, getting ready for the next step

Pull the panels up on to the roof

At this point, your panel is ready to be installed. (We tended to prep three or four panels at a time.) Note that these panels bend (in a bad way) easily.  You can’t carry them straight up a ladder or they will bend and be wrecked. They need to stay even and parallel to the ground to avoid this.

When you carry them, let one end hang down. Don’t stand too far toward the ends. If two people (a minimum) carry a panel, I suggest each be about one quarter from their end of the panel.

Getting the panels on the roof is pretty easy with a little planning. First, decide how the panels should go up and right into place without any bother. You don’t want to be walking in circles with these on the roof. Next, build a little ramp so you can slide the panels up. Lifting straight up may seem easy, but you’ll catch the panels on any obstructions. A ramp will keep you off any obstructions plus it’s a little easier on the back and arms. We just used a few 16 foot 2×6 boards as our ramp.

You will need clamps and rope to pull the panels up. We have pictures of how we did it, but you’ll need to work out the details yourself.
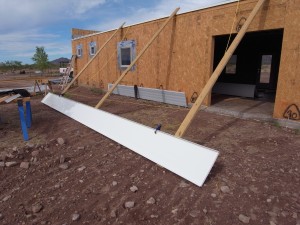
It's not pretty, but it was effective
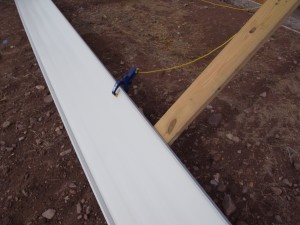
It's not pretty, but it was effective

I drilled a hole in our clamps to attach the rope
I drilled a hole in our clamps to attach the rope

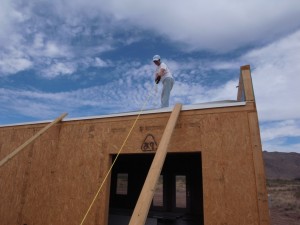
Pull evenly to keep the panels from tipping

Pull evenly to keep the panels from tipping

Position and attach the panels

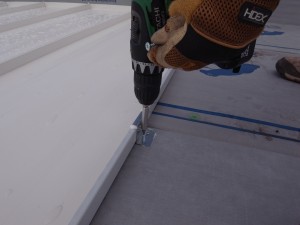
The first panel sets against the side parapet wall. It’s not attached to the wall, but there is a trim piece to come later that will hold it down. The side away from the wall will be attached to the roof decking with clips. After the first, each panel is attached to the previous on one side and attached to the roof with clips on the other. Additionally, the seam where two panel meet is crimped (weather-stripping may also be applied if the slope is low). We applied caulking to the clips as well. (I was a little fuzzy on these instructions from Floyd so I am not positive this is required.)
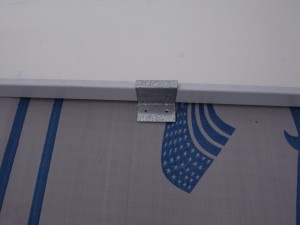
A clip in place
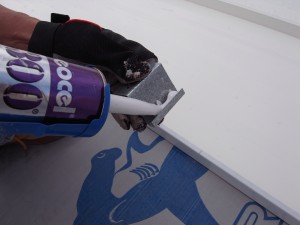
A clip in place

We caulked where the clip fits over the panel and where it sits on the underlayment
We caulked where the clip fits over the panel and where it sits on the underlayment

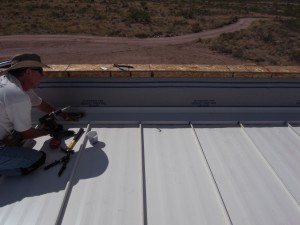
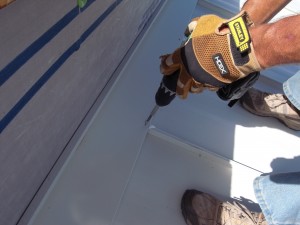
Screwing the clip to the roof decking

Screwing the clip to the roof decking

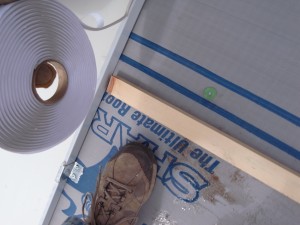
After the first panel is attached, you may need to apply weather-stripping to the seam–we did.
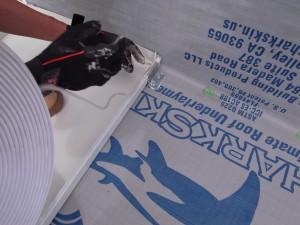
Getting started
Getting started

Placing the weather-stripping on the panel

Placing the weather-stripping on the panel

Once the weather-stripping is on, you’re ready for the next panel, which is set on a board to position is over previous panel. Place your 1×2 boards next to the attached panel and place the new panel on the 1×2 boards. Now push the new panel tight to the attached panel making sure it overlaps at the seam. Once it’s in position, you can pull out the 1×2 boards.
Once the weather-stripping is on, set the next panel on the 1x2 boards before attaching
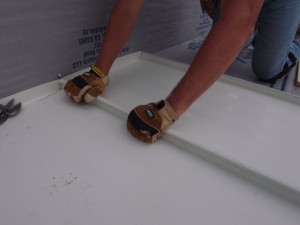
Once the weather-stripping is on, set the next panel on the 1x2 boards before attaching

I used my hand to clamp the seams together as we pulled out the 1x2 boards

I used my hands to clamp the seams together as we pulled out the 1x2 boards

After you are sure the seams fit together, it’s time to crimp the seams. This permanently bonds the panels and makes the seam waterproof. The crimping was pretty hard work.
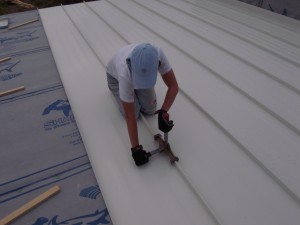
You use this handy crimping tool
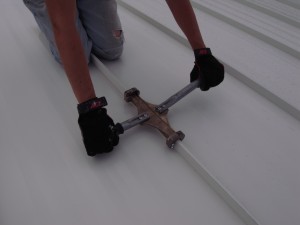
You use this handy crimping tool

We worked from top to bottom moving the tool a little less than its length after each crimp
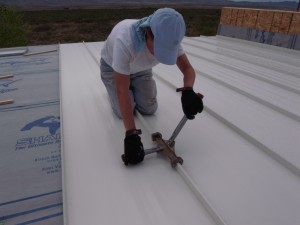
We worked from top to bottom moving the tool a little less than its length after each crimp

I've been told that you can't crimp too much

I've been told that you can't crimp too much

After this, it’s just repeat, repeat, repeat… until you reach the last piece.

I do believe there’s a concern that the panels could get crooked as you move across the roof. I measured as we went and we never had a problem. We kept each panel tight to the next and we stayed square. I have no idea what to do if you start to lose square.

You might have seen this coming. The last panel will undoubtably need to be cut to fit. Ugh. (Next time, Karen suggested that we design our house width to be an even multiple of the size of the panels.) This and more in part 3.

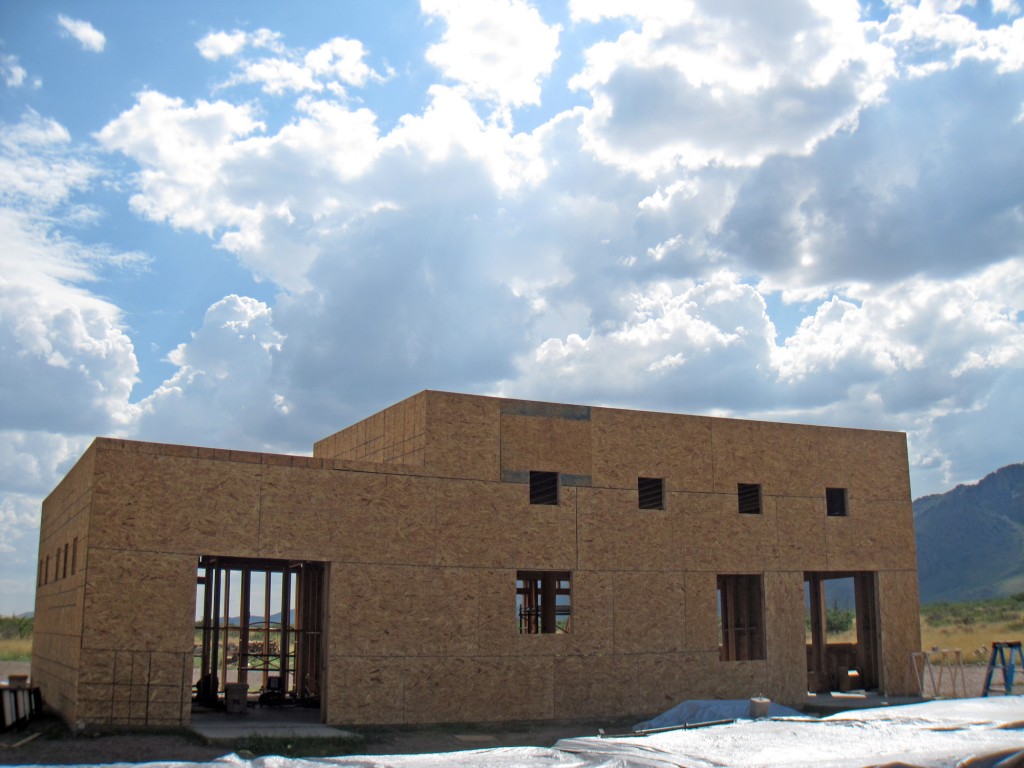
DIY guide for a standing-seam steel roof with a parapet – part 1

Friday, September 4th, 2009

Karen and I finished our roof the other day. We’re really happy with it, but it was a lot of work. Nothing was too hard from a technical standpoint; I think it may have been all the trips up and down the ladder and the lifting, pulling, and carrying.
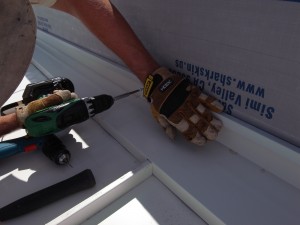
I think we took enough pictures to create a decent guide for others attempting a similar feat. We will see…

We originally planned on a membrane roof. We couldn’t find any installers willing to put one up for us… for a reasonable price. Seems odd. As it turns out, I think we were lucky.

On the way to the post office one day, I stopped in to introduce myself to a local artist – Roger McKasson. (Karen has emailed him before we moved here to see if he had a recommendation on an architect.) We got to talking and I mentioned the problem finding a roofer. He told me that he put on his own roof. He said he used an outfit from Silver City called Mastercraft Metals. He said they came out to his place and cut the roof to fit. He also said they told him how to install it and even lent him the tools to do the job. He said that he and his wife did the job themselves. It sounded too easy. I was intrigued.

I called Mastercraft and they confirmed Roger’s story. Then they quoted the job at a quarter the price of the membrane roof… assuming any one would install a membrane roof in Portal. Ha! (To be fair, in an apples to apples (installed) comparison, the price would have been half the price of a membrane roof.) Karen and I were pretty much on a path at this point.

The significant difference between the standing-seam steel roof (in my opinion) and a membrane roof is that the steel roof will not burn. The membrane roof people say it will not burn, but hot embers will burn holes through the material. Easily repaired I’m told, but better no holes at all. Another big difference for us is that you can install a standing-seam steel roof yourself – not the case with a membrane roof.

Picking a color… Karen and I did not spend a minute thinking about this. There’s been a lot of press regarding white roofs and global warming lately. Between the heat here, global warming and the solar tax credit for picking a white roof… well, you can guess what we did.

I’ve put up a few roofs before, and I always used tar paper under the roof. The people at Mastercraft Metals told me that these roofs last so long that a new kind of underlayment is needed. They recommended a product called Sharkskin-Ultra. I have to say I love the product. One big concern out here is the wind. I heard one apocryphal story about a guy who put tar paper on his roof four times before the roof was finished; each time a wind came up and ripped off the tar paper. It’s believable.

This Sharkskin stuff is tough. You can’t tear it. The wind never ripped so much as a single hole through a nail. Also, it claims not to change size when the temperature changes. I have to say my observations agree. (Doesn’t this violate some law of nature?) It was very easy to install. Basically, we chalked lines, rolled out a few feet at a time, nailed, repeat, repeat, repeat. The most difficult part for me turned out to be trivial for Karen. The last piece needed to be folded so as to go up the front and side parapet walls. I studied it; I cut pieces to try; nothing but a big angry mess. Karen got up to help me and in a few seconds she had made perfect corners. I still don’t know how she did it, but I quickly nailed them down.

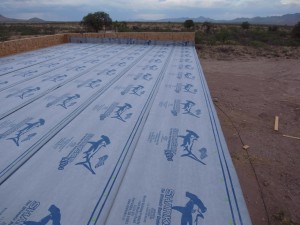
Our underlayment installed

Our underlayment installed

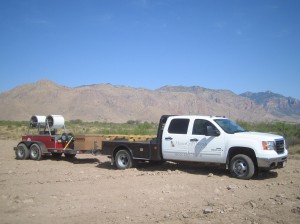
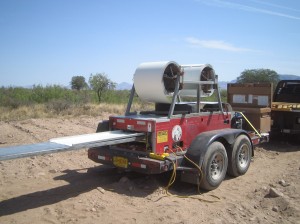
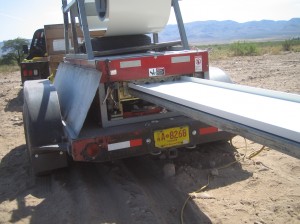
On the appointed day, Floyd from MasterCraft showed up in a big pickup truck pulling a trailer with the equipment to turn a roll of flat steel into the panels for a standing-seam roof. He also brought premanufactured trim pieces and an assortment of goodies to help complete the job.

Mastercarft Metals truck and trailer

Mastercarft Metals truck and trailer

A long table is needed to keep the panels from bending

A long table is needed to keep the panels from bending

A panel being formed

A panel being formed

Look at those choppers!

Look at those choppers!

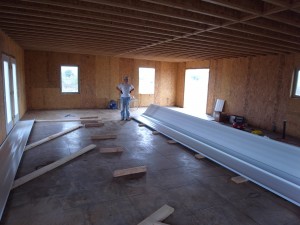
Once Floyd had everything set up, he started making panels. As each one finished, we carried them into our house where we laid them in two piles.

Our temporary workshop

Our temporary workshop

It turned out to be ideal working on these in the house. (Karen wasn’t thrilled with how dirty the floor got, but afterward, it all cleaned up like new.) There is a fair amount of preparation needed, and it’s hot outside.  A table would have been nice. We worked on 2×6’s on their side. It worked fine, but there was a lot of crouching.

After all the panels were made and put away, Floyd gave us instructions on how to install the roof. He cut several small pieces of panel to help with the instruction as well as to be a concrete example for later when we would be on our own. Although everything seemed clear and easy when Floyd explained it, a few days later, things were a bit foggy. Between Karen and I, a few calls, and a little trial and error, all went well… quite well. We would encourage anyone to install their own metal roof. We hope this guide helps. Stay tuned for part 2 with more details.

Woo-hoo!

Thursday, August 27th, 2009

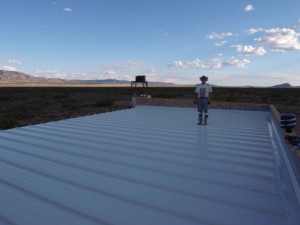
The roof is done!
R0011473