construction

...now browsing by tag


New woodworking tool

Thursday, December 20th, 2012

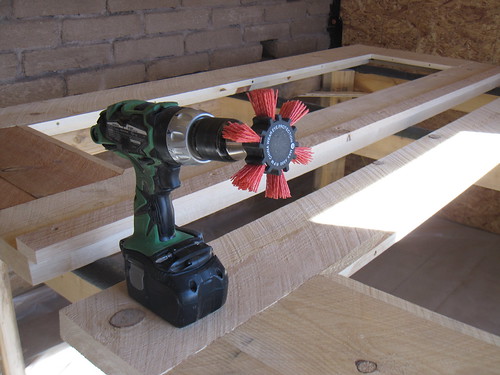
I’ve been doing a lot of woodworking with rough finish wood. It’s nice to work with because it’s rough and meant to be “imperfect,” but you can’t really sand out any problems that you don’t want to show in the final piece. I found a great new tool to use on rough lumber though. It’s basically a hard nylon brush that goes on a drill. It works great for getting out black marks and smoothing out (in a rough way) other things.


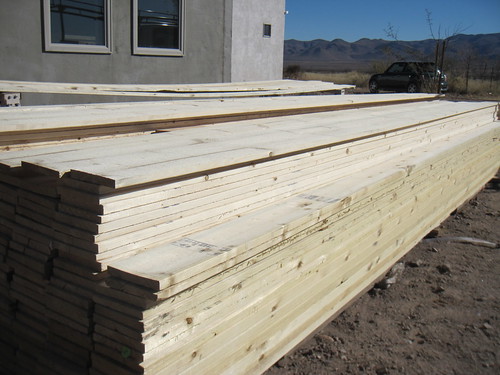
In other news, we got the ceiling board lumber so I have lots of staining work to do. (Dad, we miss you!)

This week

Saturday, July 28th, 2012

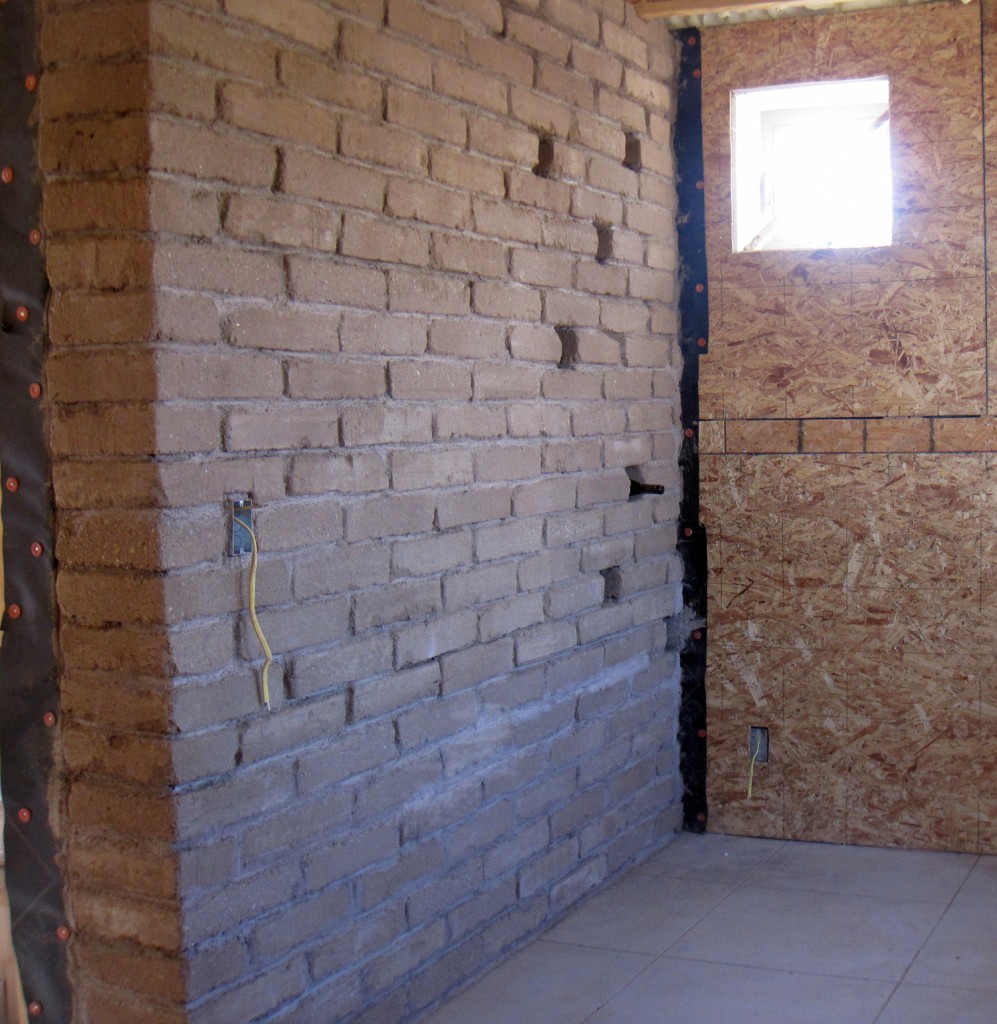
We finished the adobe wall in the back room. I think it came out great.

We also finally finished the last bit of stucco around the outside doors, and Brad dug lots of trenching and water into the house and sewer lines out. We have started prepping the big walls that will get adobe and will start on those next week.

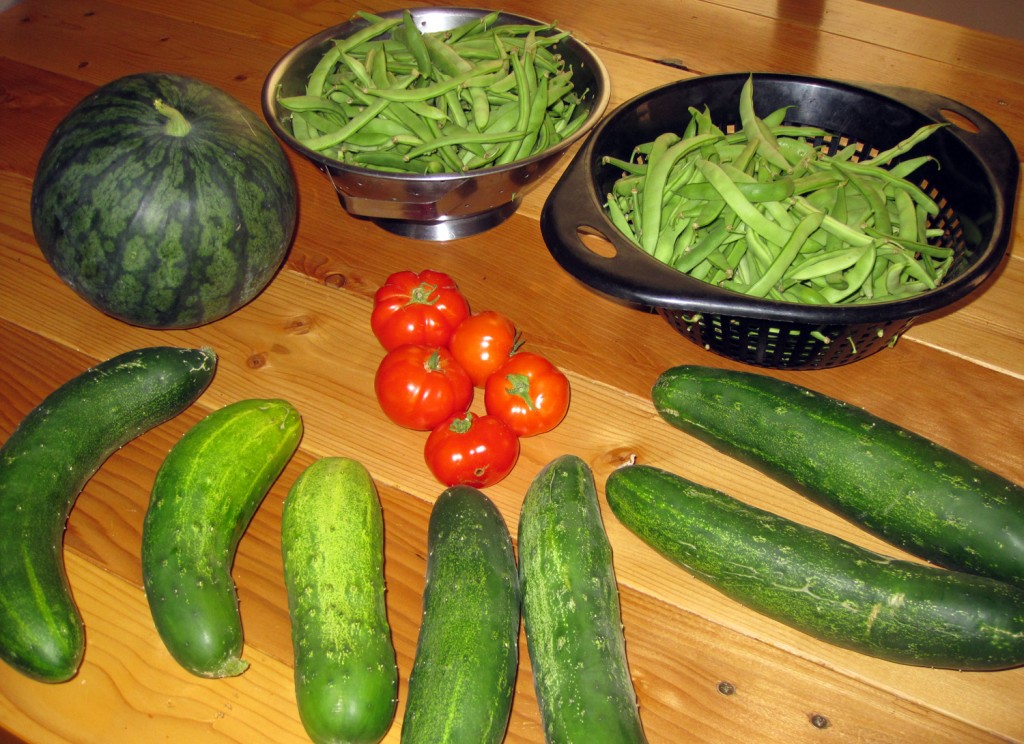
The weather here has been lovely; monsoons are in full force with big storms rolling through almost every day. We don’t always get the rain here, but have had several long showers. The sprinklers on the outside garden beds have been off for a couple weeks, and as you can see, everything is thriving.

Today in masonry school

Wednesday, July 18th, 2012

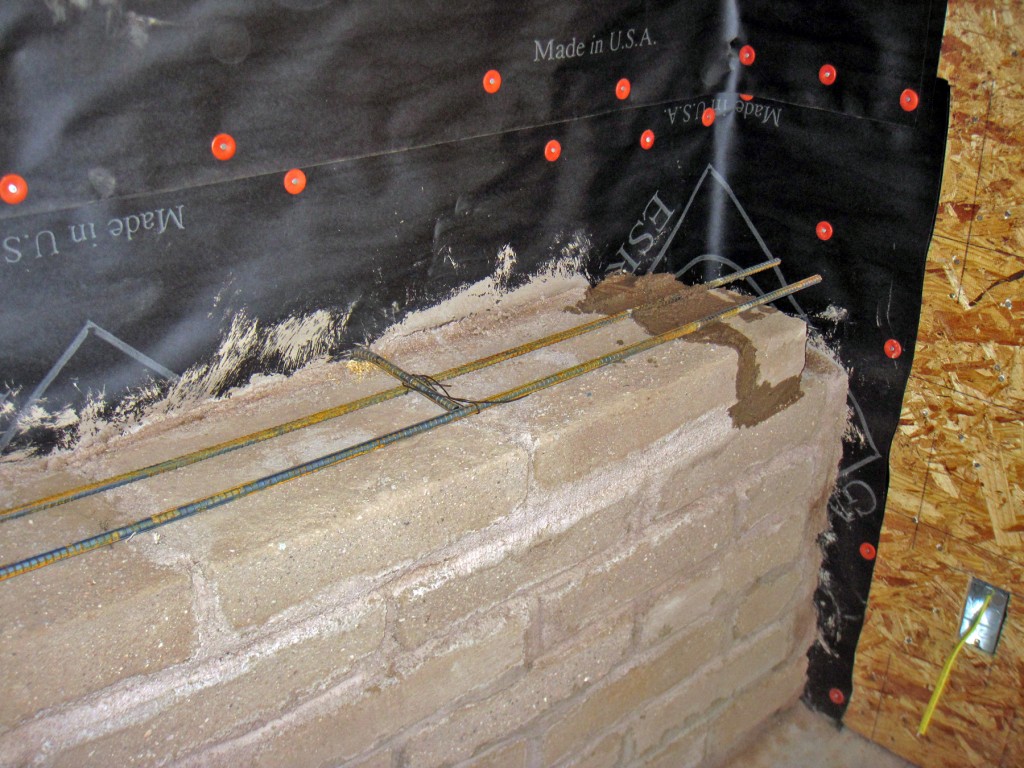
Today, we put some rebar into the wall, anchoring it to the OSB backing and adding strength.

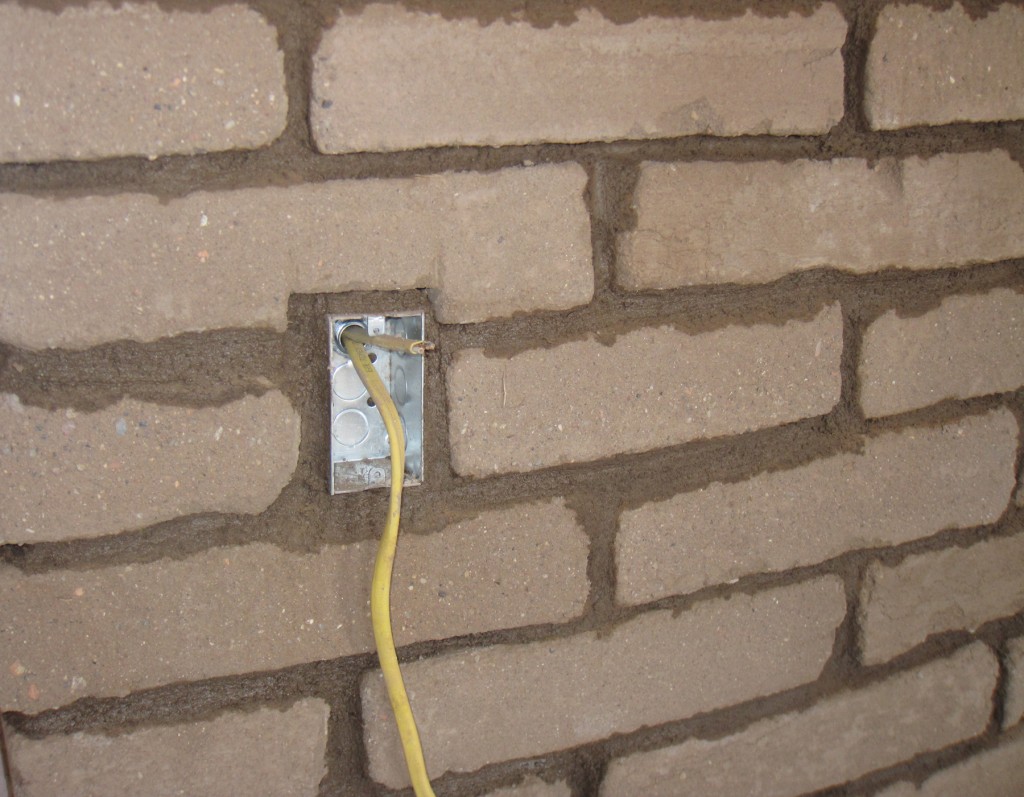
We also put in the first electrical outlet in the adobe wall….

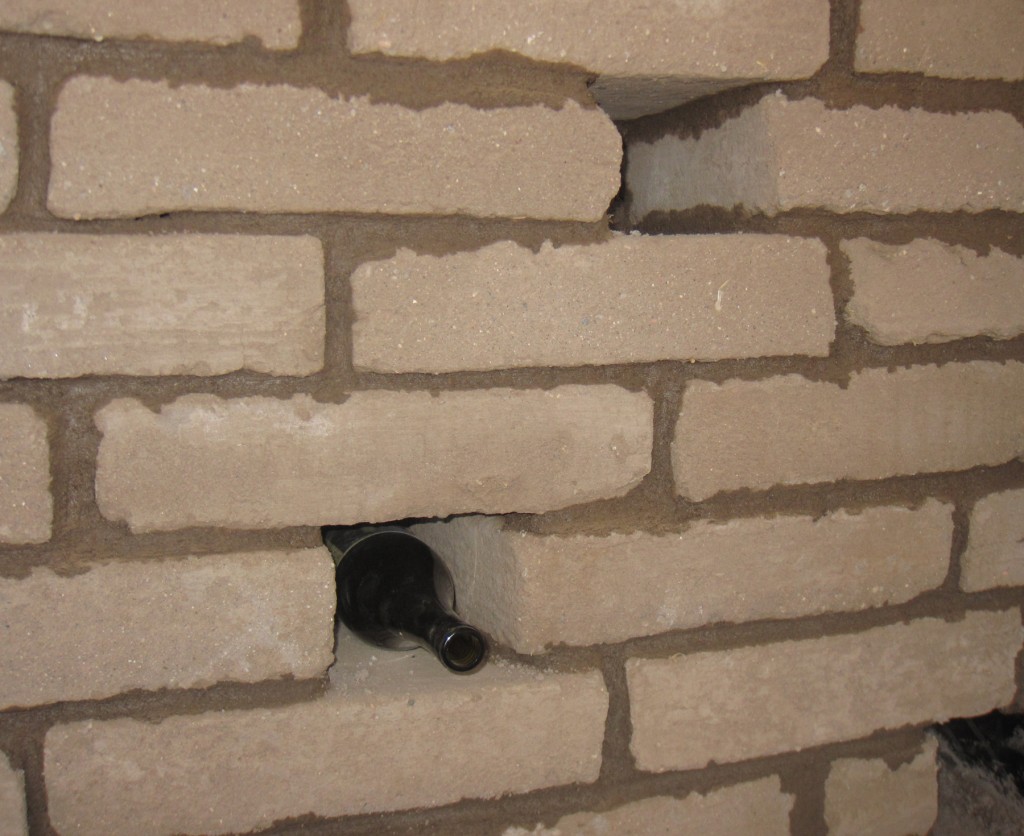
…and began experiments for the adobe wall wine rack concept.

Last night, we made a lovely cold soup from a giant cucumber from the garden. The tomatoes are starting to come in nicely as well.

Laying bricks

Monday, July 16th, 2012

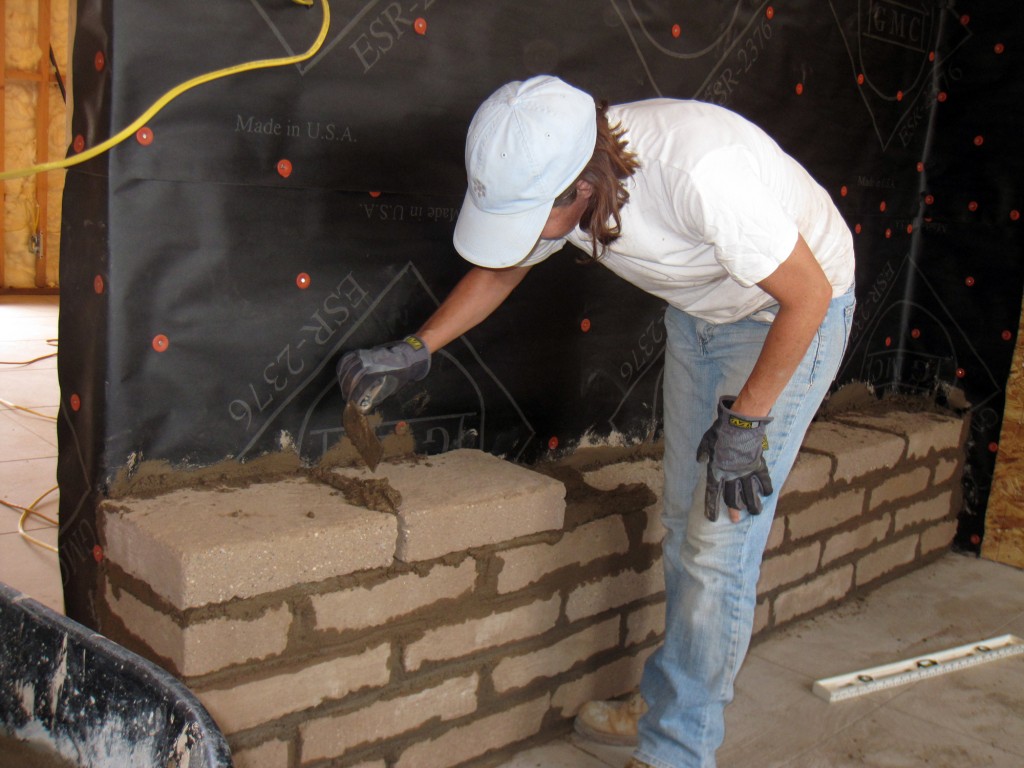
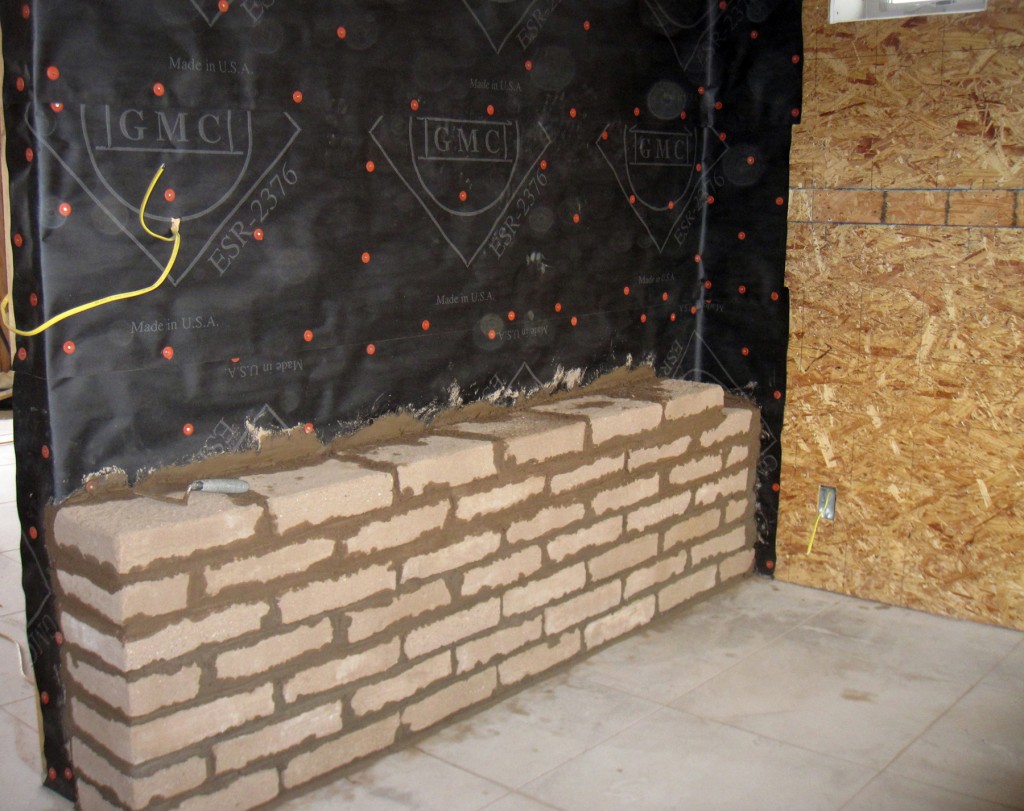
We began building the first adobe wall today. As with most things, we “practiced” in an inconspicuous place. This time it was the back laundry room. (The adobe there will help warm our bedroom in the winter.)

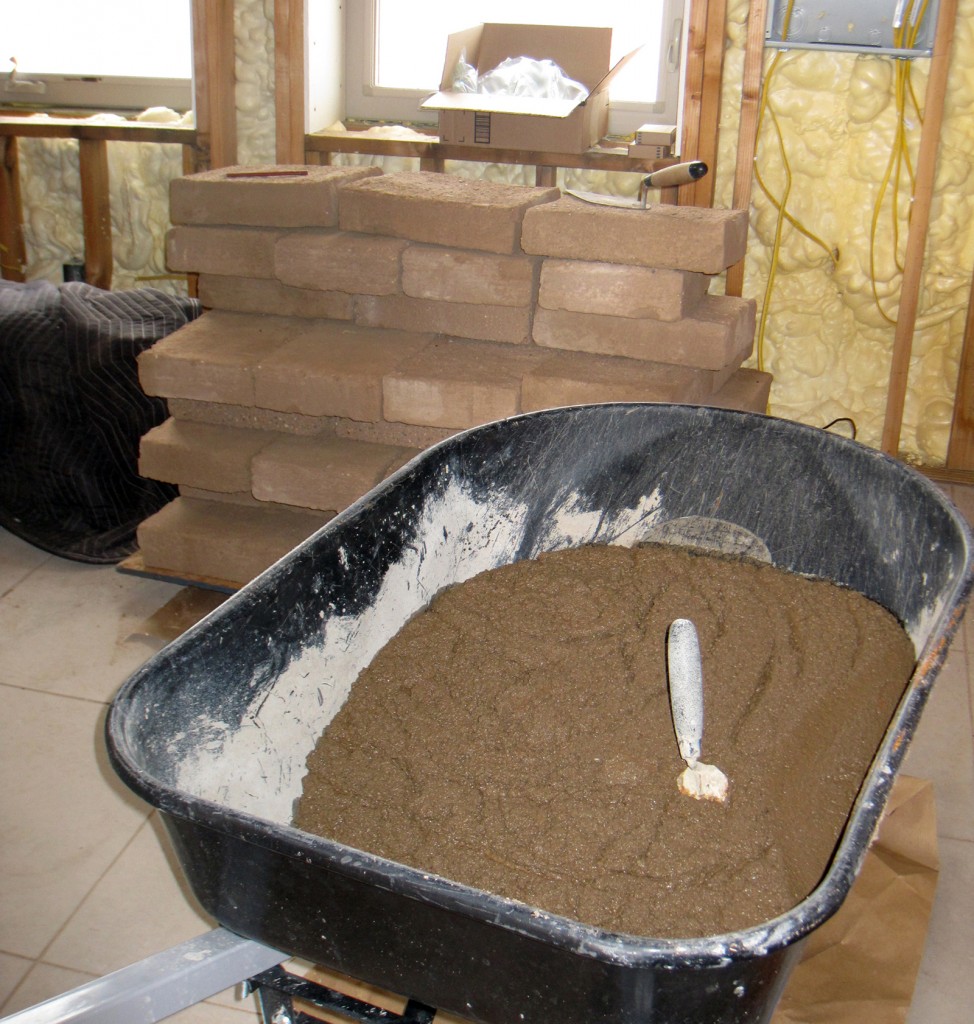
First, we mixed the mud. It’s pretty much like stucco, except we added some color to try to make the mortar look less gray and more like the adobe bricks.

The actual bricklaying went faster than I expected. Brad said these bricks are much more stable and solid than others he’s worked with.

Here is the first day’s work. And things always go faster after the first day.

And on the weather front, we’ve gotten an inch of rain in the past 24 hours. We also had pretty big hail this afternoon. Exciting.

Fluff

Tuesday, June 12th, 2012

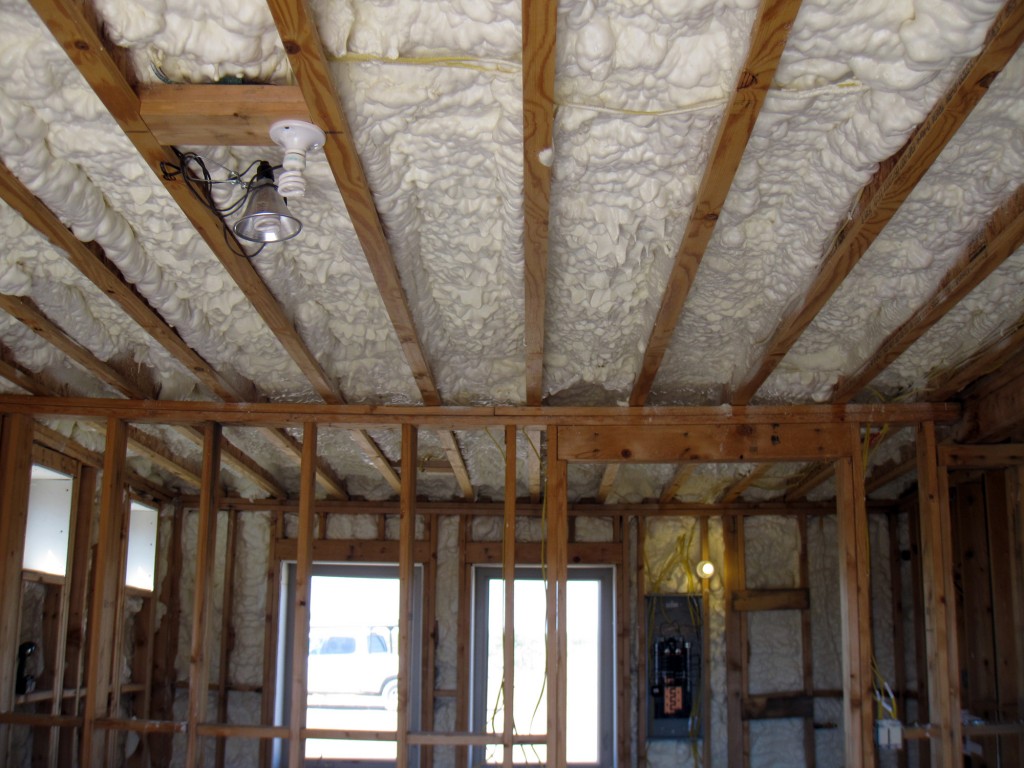
So the insulation is in.

The material for this is Icynene, apparently not made of soy as I’d thought, but rather from castor oil. It’s “low emission” and creates a tighter air seal than most anything else.

It’s water-based, and they spray it in with a tube. It comes out at 140 degrees, which made a hot day even hotter. (The truck the guys came in has a trailer with a big air conditioner in the back. Brad thought it was for the comfort of the installers, but it turned out it was actually for the material.)

It sprays on pretty thin and then quickly expands. Kind of like Crazy Foam. Once dry, it has the consistency of very dry angel food cake.

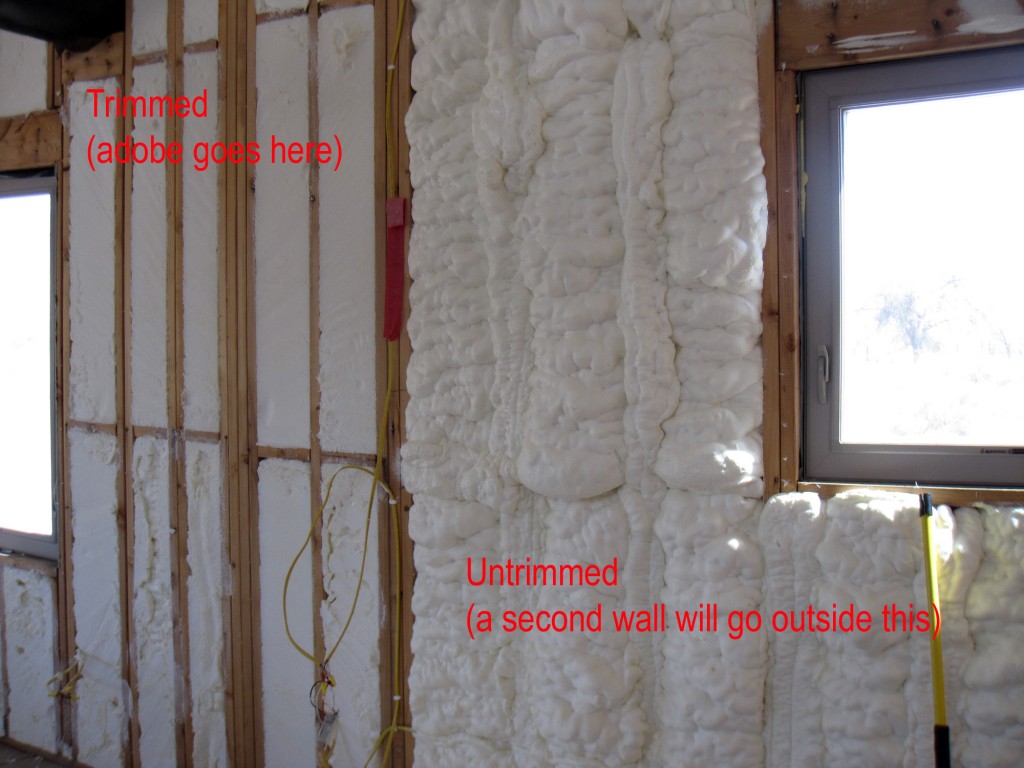
On the walls that are double (or will be), they foamed in about 5 inches, which is less space than we have, so no trimming was needed. On the walls that will get adobe though, they needed to trim off the extra. Here’s what that looked like.

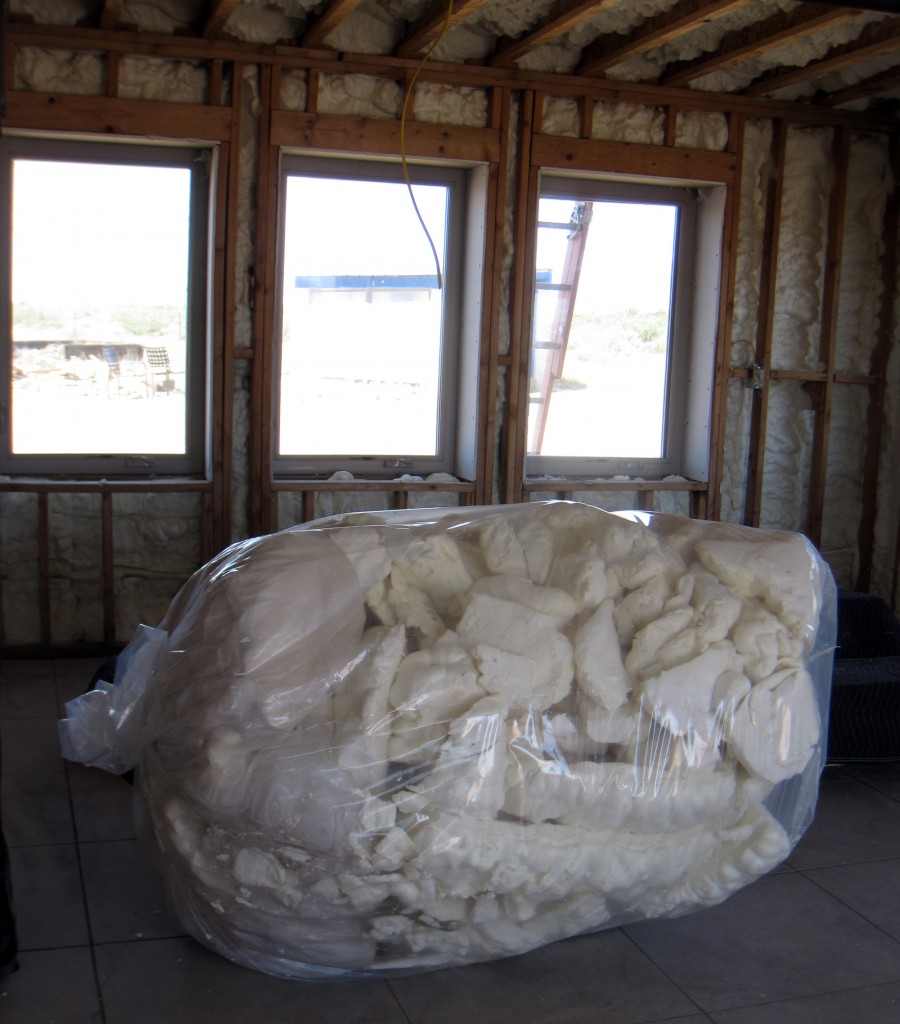
When they were all done, they left three giant bags of trimmings. We’ve been brainstorming what we might do with those. :)

The thrill of dry wall dust in the air

Monday, June 4th, 2012

It’s been a while since I’ve done an update on construction, and we’ve been busy.

Since finishing the stucco, we’ve concentrated on the inside of the house. We completed finishing the vigas, got the door frames in, and redesigned the fireplace setup. Most significantly, electrical and (rough) plumbing are now pretty much done. We have working lights and switches and wires everywhere. Lots of decisions to make about what kind of lights, what goes where, and which switch controls which thing. Lots of pulling wire.

All this is is in preparation for having the foam insulation sprayed in. (As you might remember, the ceiling and double-framed walls will have insulation blown in to make the house super-insulated against both hot and cold weather.) We have an appointment to have that done the week after next.

And so where does dry wall come in, you ask? Well, before foaming, we are dry walling in the window wells so that they can be foamed in tight.

They look much more finished and very nice this way.

After the foam, the next steps will be to start framing in some interior details like closets (yay!), a window bench seat, and the kitchen bar. Fun stuff.

Stucco’ing Virga

Wednesday, May 9th, 2012

Finishing a big work project and finally getting some rain here gave me a chance to finish this video I’ve been meaning to assemble for a while now. (The actual work here has been done for weeks.) Enjoy.

[I always forget to say that this isn’t the final coat. The second coat is much prettier and also much easier to do.]

To stain or not to stain?

Monday, February 27th, 2012

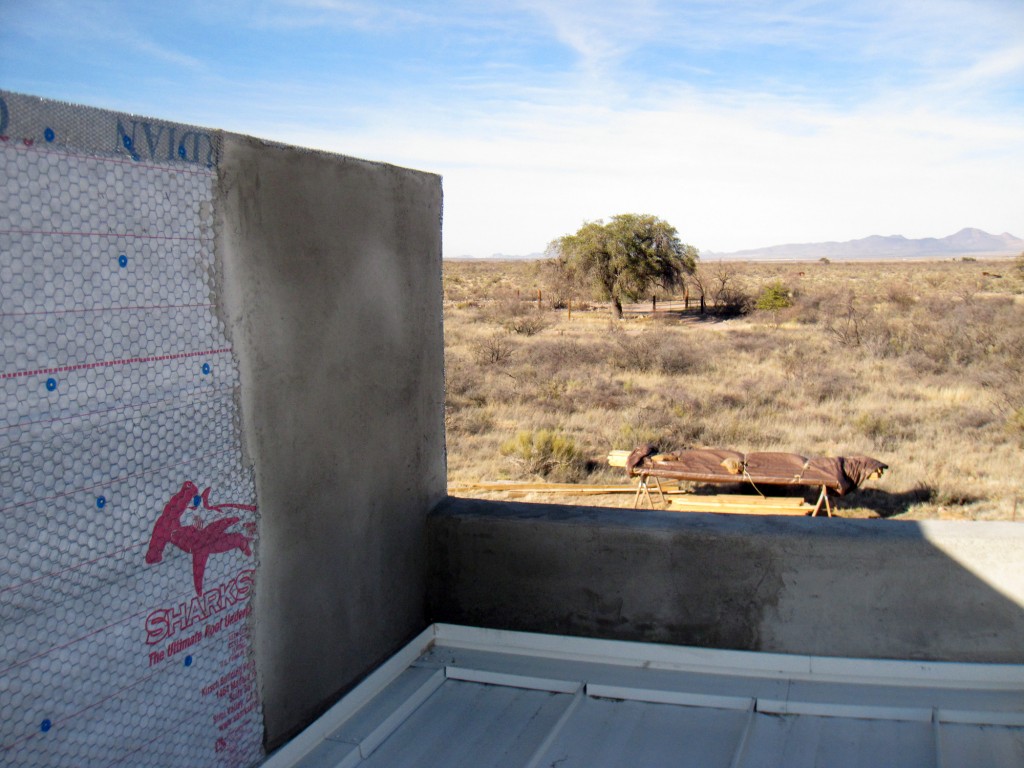
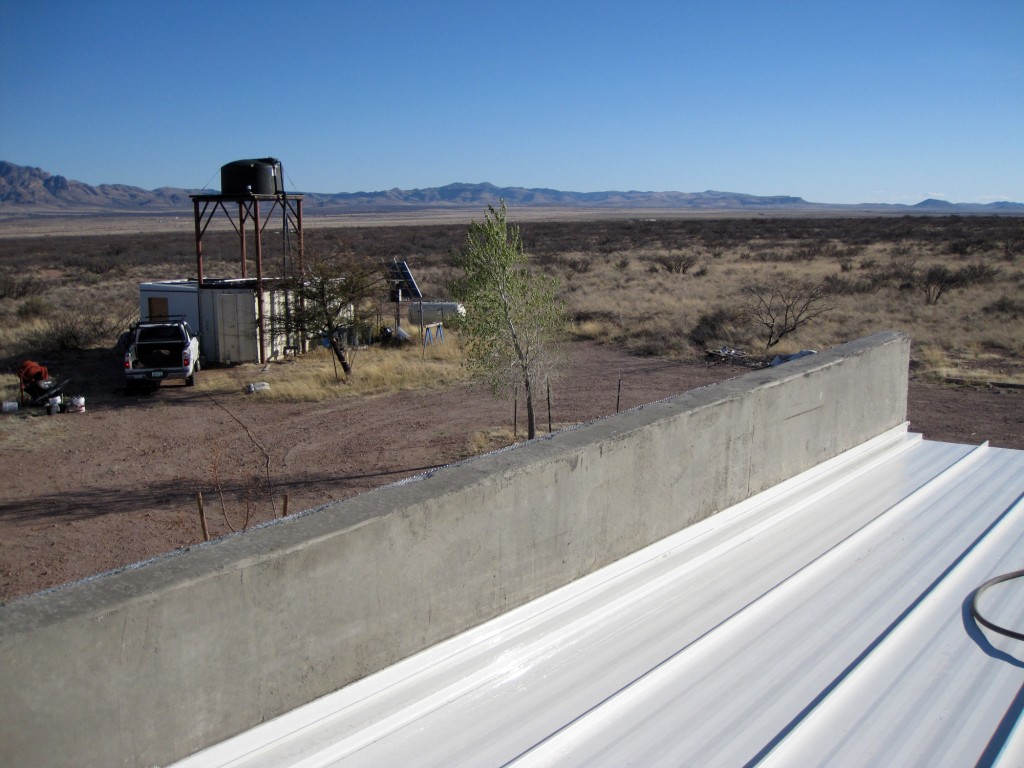
It is finally spring here! There are lots of baby cows and poppies this spring. We have had several days of warm weather and are stucco’ing madly. Not too much fun in the 40 mph wind gusts we had today, but that is a part of spring here.

Each evening after stucco’ing, I’m working on finishing the big timbers that will go up around the doors and windows where there is adobe. The color is the hardest part to me — to stain or not to stain? I’m leaning toward leaving the vigas (round timbers that are already up) and the glulam with a natural finish and doing the rough timbers and ceiling boards with a light stain like we have for the ceiling in the guesthouse.

The first step was to trim the timbers. Then for the finish. I don’t have much experience with finishing rough wood, so any advice is welcomed.

Here’s my process so far.

  1. Belt sand the ends of the timbers.
  2. Wirebrush all the wood, removing as much dirt as possible. (There are some grey marks on some of the wood, but not everywhere. At the beginning, I didn’t know how much the varnish would cover that, but it seems to be covering fine.) It’s weird to be not to be doing round and rounds of sanding.
  3. Use compressed air to clean any miscellaneous dust, etc. off the surface.

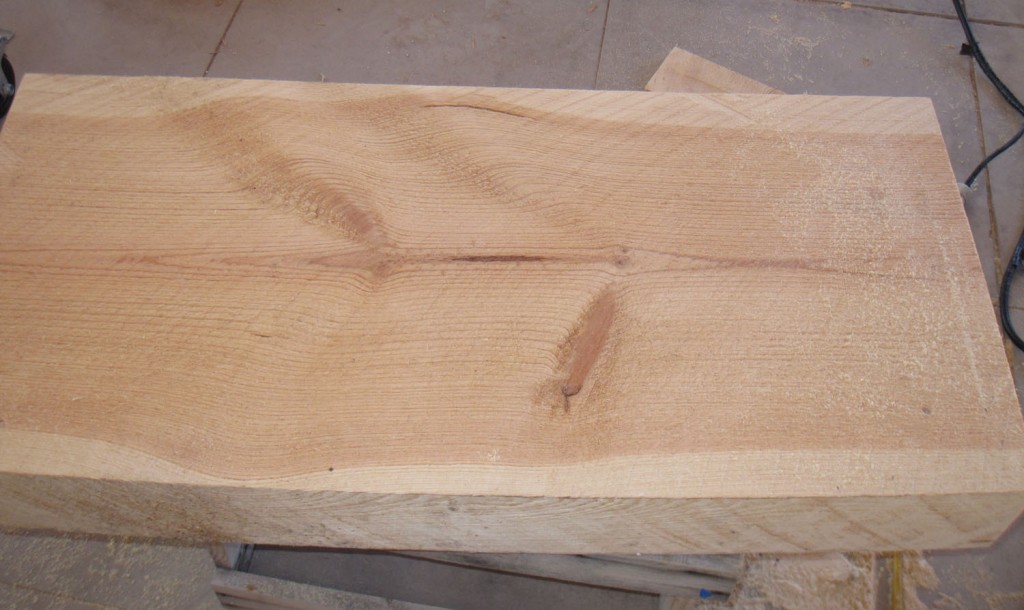
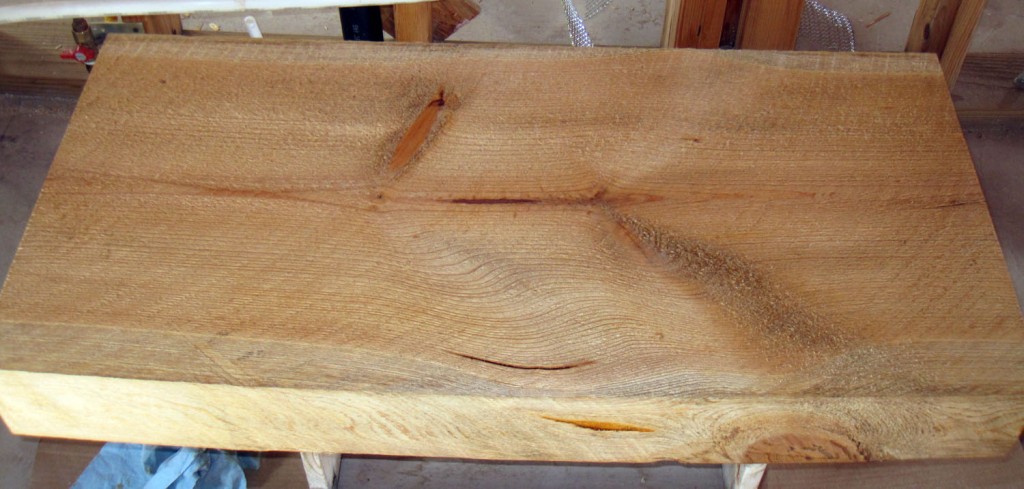
    This is the wood before any finish.

  4. Apply Minwax pre-stain wood conditioner. (These timbers are ponderosa pine, a soft wood. Conditioner is supposed to help the stain take better.)
  5. Apply Minwax stain. I used a 50/50 mix of oak and natural, the same as we used for the ceiling boards in the guest house.

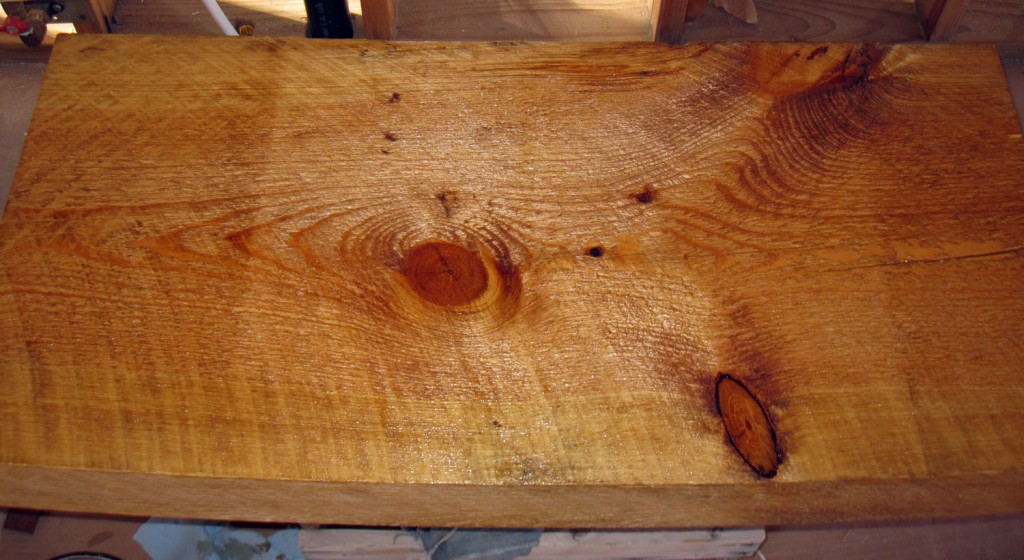
    This is after staining.

  6. Apply two coats of Waterlox Marine Sealer. (This is a pretty expensive tung oil finish system designed for extreme weather. Some of these beams will be outside, and the other finishes I’ve tried for outdoor wood haven’t lasted. I’m hoping to use this on the new outside doors as well.)
  7. Apply two coats of Waterlox Marine Finish.

With drying time and two sides for each board, the whole process takes about 14 days. This will take awhile, but so far, the results look good.

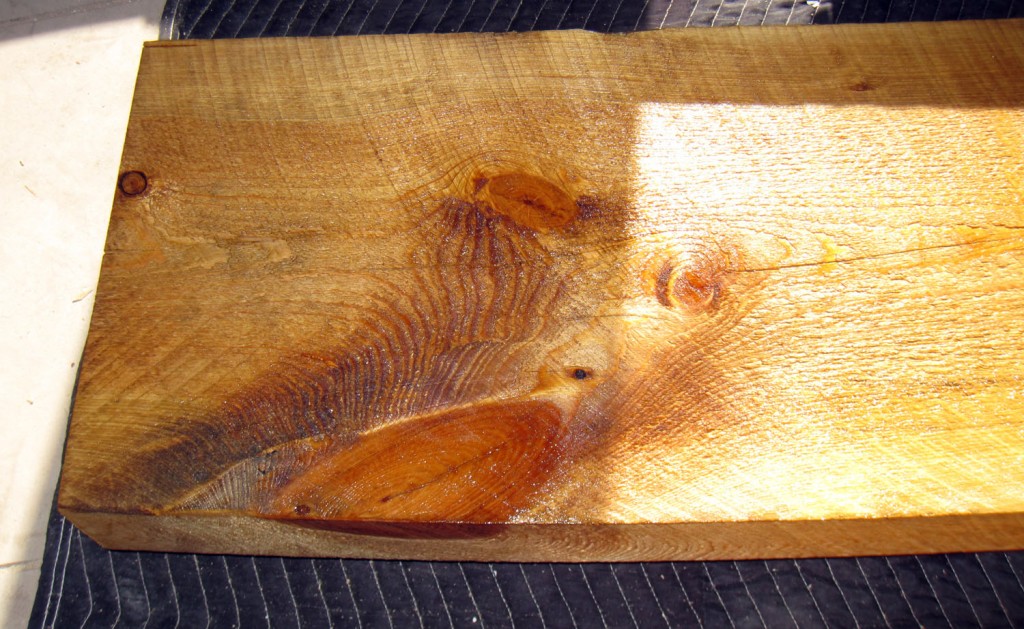
And with the final coats of sealer and finish

Stucco has commenced

Thursday, February 23rd, 2012

I’m too exhausted to write any more right now.


New arch

Sunday, February 5th, 2012

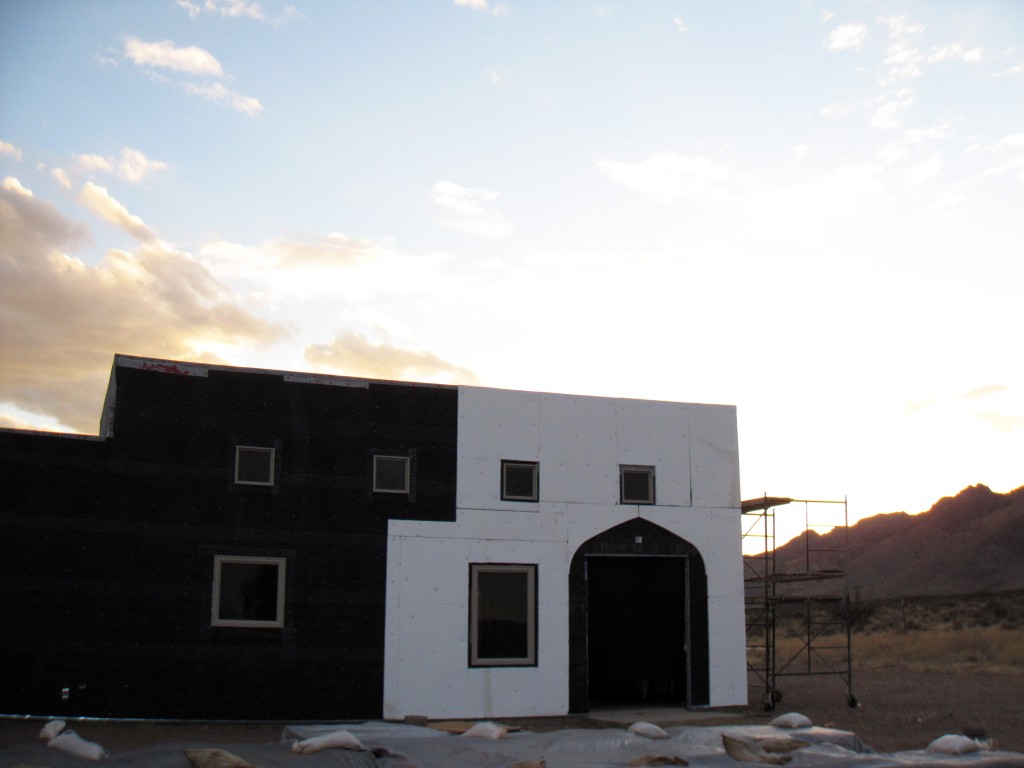
We’ve been working on the new arch over the main entrance to the new house.

As you might remember, this kind of “architectural detail” is added by nailing thick styrofoam down on the exterior wall before stucco.

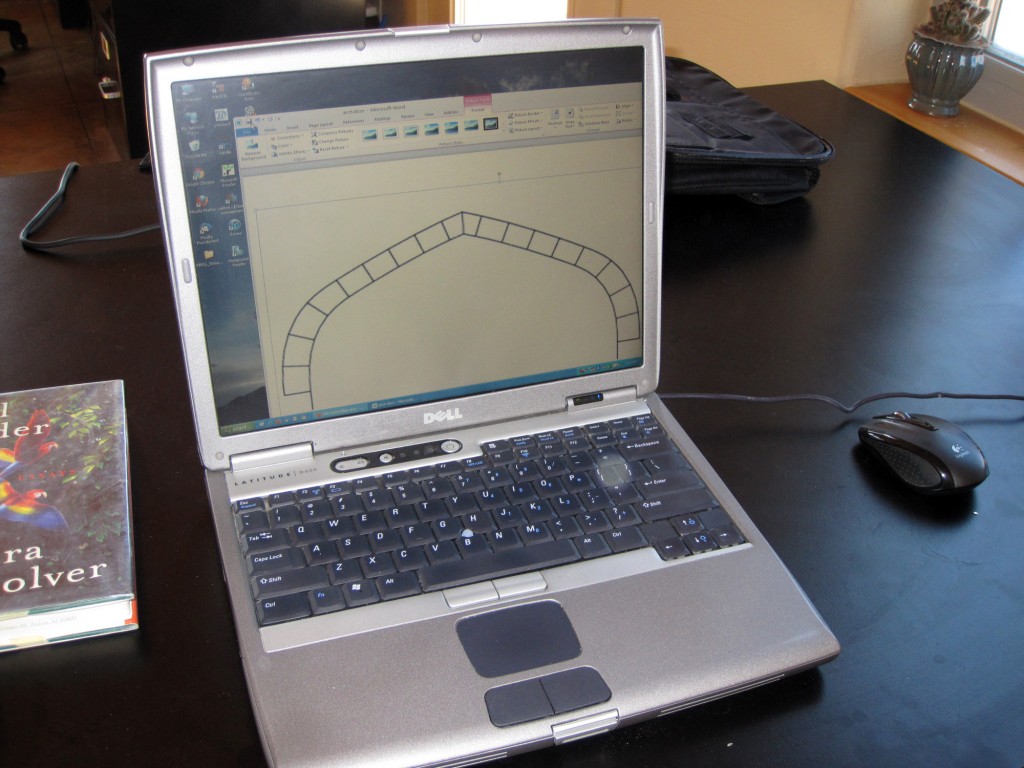
Last time, Brad did a great job of basically freehanding the design. This time with a wider door, we were having a harder time with it, so we decided to apply technology.

First I found an arch we liked on the computer.

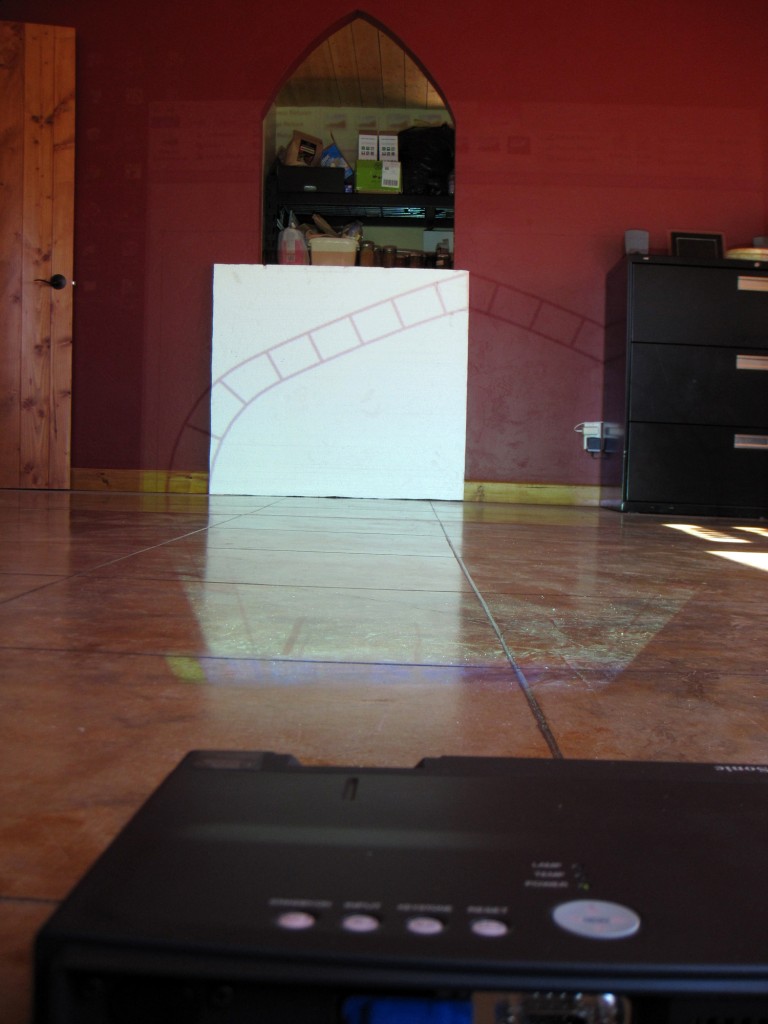
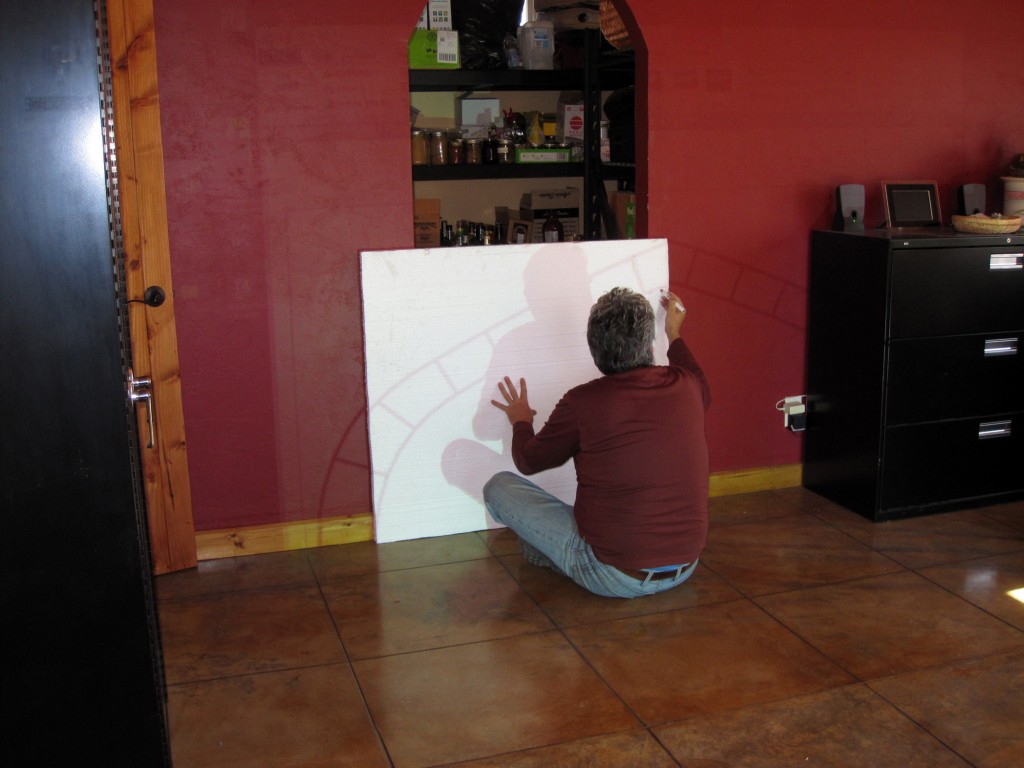
Then we projected it onto the stryrofoam piece. Lots of trick size matching to do here.

Then Brad did the tracing.

And here’s the final result. Well, not quite final, but you get the idea.