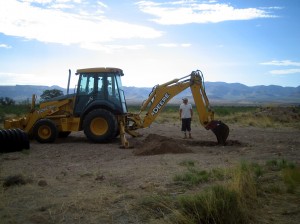
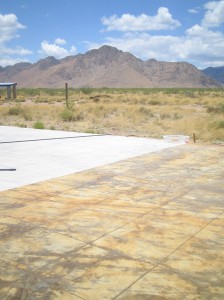
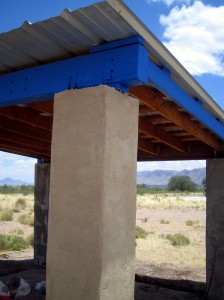
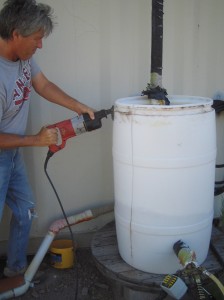
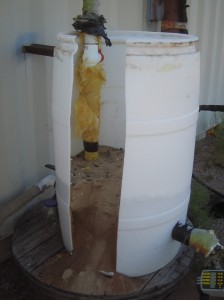
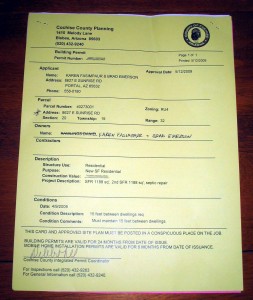
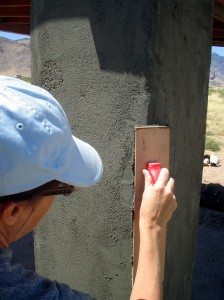
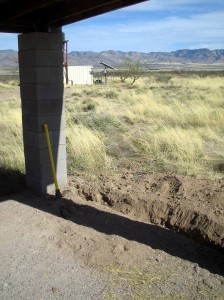
This is a part our septic rework in process. Should be done in a couple days.
construction
...now browsing by tag
Big equipment on the ranch today
Thursday, June 25th, 2009The slab becomes a floor
Sunday, June 21st, 2009As much as things went badly yesterday, today they went splendidly.
We got up 5 again to stain, and today the weather was clear. We set out to the property and began work. I’ll let the pictures and movies tell the story. (One minor sidenote: The rain seems to have brought up some of the Quikrete. We had to scrape and wash down the slab *again*. So Quikrete wasn’t the perfect crack patcher either. Maybe there isn’t one. Anyway, it’s good enough.)
[coolplayer width=”600″ height=”400″ autoplay=”0″ loop=”0″ charset=”utf-8″ download=”1″ mediatype=””]
Staining the Slab
[/coolplayer]
(The color on the movie is a bit dark and orange. This picture shows the actual color.)
We just love Soycrete. It was so easy to work with and gave beautiful results.
We also did the final stucco coat on the greenhouse columns. This came out really nice too. For me, a lot of this was a practice run for the house. The color turned out really nice, and I would definitely use something similar for the house. (We will be going with a slightly different stucco, one that is plasticized, which we discovered since we bought this first batch, helps prevent cracking).
I finished the stucco two different ways. The first was more of a rough finish. The second was smoother (achieved by misting and sponge troweling it pretty aggressively). While we liked both, I think we’ll probably go with the smoother look. We may do either a different texture or even color on the “architectural details.” (Those are the parts of the exterior walls that stick out a bit to look more interesting.)
It might be faster to grow our own lumber
Saturday, June 20th, 2009As I write this, Brad is on his way to Animas to give the contract (and accompanying big check) to the panel people and then to Deming to deliver plans to the person there who will be drawing the panel plans. We are hoping to be able to get these plans to approve before we leave for DC for NECC next week so that they can begin manufacturing. [Postscript: There is yet another problem with the panel manufacturer that might further delay things. Oh well.]
This has been held up for several weeks due to issues with the windows. Upon trying to get quotes for windows and doors, we learned that the window dimensions in the plans are not standard as we’d asked for. (Big surprise.) Everything has been further delayed by the fact that it seems to take weeks and multiple phone calls to get quotes on anything from anyone. I’m not sure what the lesson is on all this, but if we’d quoted out some of this while we were in the design phase, we might have found this out sooner. Of course, it would probably have taken even more time that way, so I’m not sure. At any rate, this is certainly as frustrating as I was warned and anticipated it would be.
The boys are due to arrive here July 3. The panels will not be here by then, but we have other things to work on, such as moving the driveway (it currently goes through our main house) and clearing areas for the pump house and patio. Hard work that should keep them all busy.
Brad and I got up at 5 this morning to stain the slab, but it was raining. It’s rained several days this week, not hard or long, but big winds and violent looking clouds blowing through. It appears that monsoon season has started, much to everyone’s glee. Hopefully, it won’t rain too much during July when we are hoping to get lots done.
We have also been making progress on the greenhouse. We’ve painted the wood beams and will be doing stucco this weekend.
And Brad finally cut apart that lovely insulated barrel contraption around our water lines. The bottom third was filled with dirt.
Catching up
Tuesday, June 2nd, 2009I have been working around the clock to finish a couple grants (relatively low $, but local, which should facilitate actually having some time to build a house) and haven’t had much time to write, so this is a “catch up” post. Here are some updates:
We’ve continued working on the slab and now have most of it scored. (We’ve gotten a lot of use out of the generator Barry gave us. Thanks!) We’ll likely be staining next week.
After much research on concrete crack repair, we decided to get an injected polymer kit. It basically works like epoxy with two parts that you mix and inject into the cracks. It’s supposed to chemically bond into the concrete, becoming stronger than the concrete itself. It’s expensive but seemed a lot better than Quikrete.
Well, it was a fiasco. The stuff comes in a two-chamber tube that mixes in a caulking gun and comes out through a tube, to which you can attach a nozzle for hairline cracks like ours. When we started using it, the stuff immediately solidified in the tube after we had done less than a few inches of cracks. There was one $40 tube wasted (or rather solidified). It was maddening. We suspect that the heat here caused it to immediately react. The next time, we refrigerated it first, but it was still dodgy. We ultimately decided just to do the bigger holes and cracks with this and do the rest with Quikrete. I had bought a few special tools to do the cracks, like woodworker’s syringes, but it turns out that just smearing it on with my finger worked best.
With the plans approved, we’ve been finalizing the construction budget and getting lots of quotes. Some of this has been fun (like looking at beautiful glass double patio doors) and some has been awful (like finding out all our beautiful windows and doors will cost close to $20k). I am more than a little scared of this all costing more than we have planned (or have), but I am including plenty of pad in the budget.
Many people we’ve talked to have not bothered to get back to us with quotes. It’s good to know that the economy isn’t really as bad as we hear. Ha ha.
I talked to many roofers about our planned membrane roof, only to find out that membrane roofs are apparently not used much for residential construction; they’re pretty expensive; and no one wants to come to the middle of nowhere to do one (and a small one at that, as I’ve been told repeatedly). We’re probably going to go with a metal roof like everyone else here. We met another couple who built their own house (similar style to ours), and they put on their own metal roof and love it.
No other major changes in plans, so we’re ready to proceed. We’ll be ordering the SIPS for Tumbeweed in the next few days. It’s a little scary, but good to be getting going.
Jonathon and Harrison are set to come out in early July. We’re looking forward to their arrival and help.
The compost experiment continues. It is seeming hard to keep it moist with the heat and dry air here.
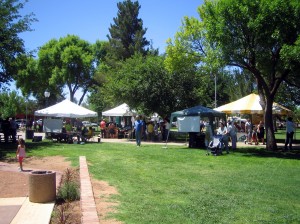
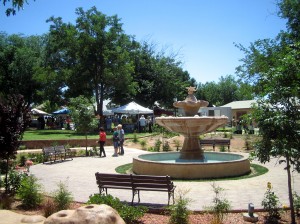
We attended the first ever Douglas Farmer’s Market. The farmers down the street from us have a stand there. It was really great, and much better than driving to Bisbee for the farmer’s market there. Also, since we have to go to Douglas every couple weeks anyway, it’s convenient. They hold it in a beautiful park in town.
Scoring the concrete
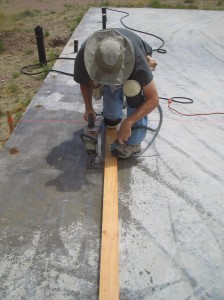
Monday, May 25th, 2009On our existing slab, which we’re staining, we decided to try scoring the concrete to get a tile-type effect. The great thing about Tumbleweed is that it is a low-risk “practice” ground for our main house. And the workshop in Tumbleweed is the practice room in the practice house, so that’s where we tried this out.
We read up on this on the Internet, and here is the process we used.
Step 1: Measure
Step 2: Lay down a straight 2×4 as a guide, and cut lines about 1/8″ deep with a Skilsaw with a diamond blade
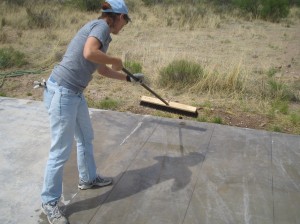
Step 3: Spray with water and sweep to remove the concrete dust
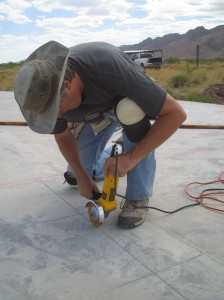
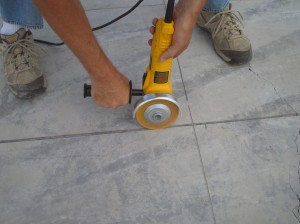
Step 4: Use a grinder to smooth out the groove (a couple passes)
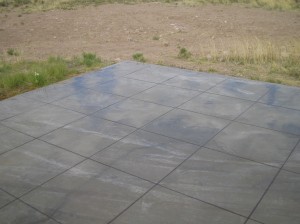
And here are the final results (wet and before stain):
We like this so much that we’re thinking about doing the whole slab this way.
We have lift-off!
Saturday, May 16th, 2009We finally got our permit.
For those interested, here are the elevations (which show what the house will really look like — you can rotate this in your PDF viewer) and floor plans. There are a few things we already know we’re going to do a bit differently, but this is pretty it.
If anyone’s looking for a vacation opportunity that provides health advantages and a great sense of satisfaction, give us a call. We’ll supply the suncreen, hardhat, and tools. :)
Vigas!
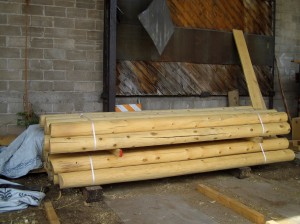
Thursday, May 7th, 2009We went to two lumber yards in Albuquerque that supply vigas. (Vigas are the big wooden ceiling beams commonly used in southwestern adobe-style buildings.) We’ll have vigas in the large great room in our main house.
[Interesting sidenote: The one that had a beautiful web site and was the one I thought we’d use turned out not to be the one we liked. The other one was very service oriented, took a copy of our plans, and had a very reasonable quote emailed and faxed to us by the next day.]
It was interesting to see all the kinds of lumber and styles they do.
Vigas have been a budget item that I have worried about, but it turns out that they aren’t that expensive (about $4 or so a foot, depending on the size and style), even with delivery to our remote corner of the world. Now that I know the cost is reasonable, I am planning to use these as the vertical beams for our covered patio and carport as well.
We’re also going to be buying decking from this same source. These are planks of wood that are 1″ thick and 6″ side that form a plank-style ceiling. You can get them with a rough finish on one side and smooth on the other. We’ll get pine and stain them with a variety of effects for different rooms.
We also found out that the plans we have don’t have enough vigas spec’d to keep the decking from sagging. Glad we found that out beforehand. :) I’m actually happier with the look of more vigas anyway, and fortunately, it won’t add too much cost.
Playing with mud – part 2
Tuesday, May 5th, 2009We sent to a great workshop on American Clay at Material Good in Silver City this weekend. (If you aren’t familiar with it, this is an interior wall treatment that is favored by green builders.) The workshop was put on by one of the company founders, Croft.
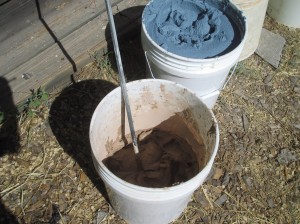
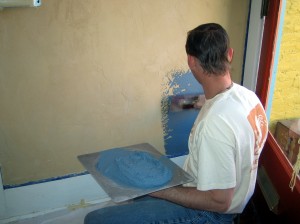
It started with how to mix the clay. The tool being used is a drill with a USG paddle.
Then we learned the basic techniques. The main steps are: 1) apply a base coat, 2) apply a finish coat, and 3) compress. There is very little surface prep required, mostly just a primer. (Drywall needn’t be sanded, and in fact, sanding creates problems because of the dust.)
The best thing about American Clay is that it is very easy to work with. Effects can be created (and flaws can be fixed) by simply damp sponging or spraying the clay surface and reworking it. You can wet it down and rework it anytime, even years after it’s been put up.
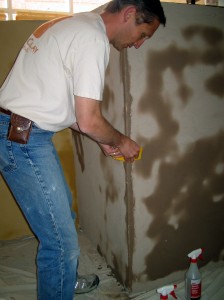
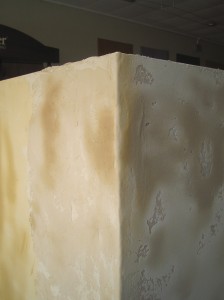
One unexpected benefit of this workshop for me was that I learned some things that I think will help me with my cement work. In particular, Croft showed us some great techniques for creating round corners (including using a trimmed plastic yogurt lid).
Here’s a corner I did:
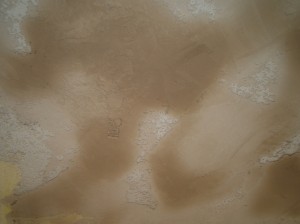
One finishing technique I really like the look of is skip troweling. Here is an example. (The color variation here is because the material is still drying. We did see some techniques for blending colors that were amazing. I think it would take some practice for me though.)
And a finished wall:
It will be awhile before we are ready to do this for our own house, but we really like this material and feel confident we could achieve nice results with it.
More pictures from the workshop are here for those interested.
Playing with mud – part 1
Sunday, May 3rd, 2009We’ve started work in earnest on the greenhouse. The great thing about the cement work on this is that it is the same process we’ll be using on the exterior of the houses. This gives us a chance to practice techniques and also an opportunity to try out colors, etc. before committing on the house.
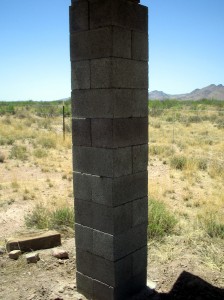
Here is a column before we started:
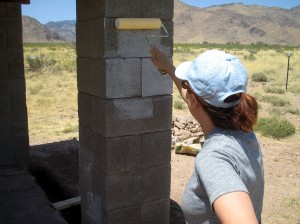
The first step was to prime the cement block that was there. (This is a part I’m very good at.)
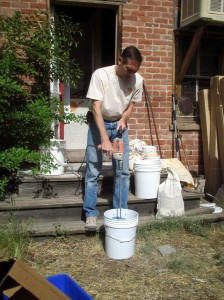
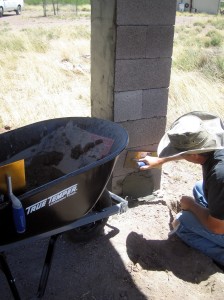
Then comes mixing the cement. Another part I’m good at. (It’s hard work though. I couldn’t help thinking how useful a couple big teenage boys would be.)
Then we spread the cement on. I’m very bad at this and find it extremely frustrating. Brad tells me I’ll get better at it. When I think of doing this over two whole houses, I want to cry.
Then you float the surface and finish the corners. I can see getting good at this.
The last step will be a finish coat stucco. We’re looking at colors now.
Floor colors and a greenhouse
Monday, April 6th, 2009This weekend (after spending hours of watching videos on YouTube — this really is the best thing that’s happened to the DIY world since Lowe’s) we did stain samples on the slab. We tried Desert Mountain and Espresso and really liked both.
One thing we learned was that we won’t have to etch the slab first. (In the event that anyone else can use this information, the issue is slab porosity. Because the stain has to permeate the concrete, the surface must be porous. You can tell the porosity by misting water onto the surface. On ours, it immediately soaked right in, indicated a porous slab.)
We have also made a decision about what to do with that odd cabana that is already on our property. We are going to make it into a greenhouse!
To prepare for that, we began digging a ditch around the perimeter (more practice for my backup career). We’ll bury screened fencing a foot r so deep to keep animals from digging in (hopefully). We’re going to plaster the corner posts, which will give us some practice on plastering for the houses. since Stay tuned for more on this project.

